Cura has numerous settings that focus specifically on certain areas of your 3D print. These include but are not limited to speed, support and flow settings. With these settings you can adjust your slicer to get the best possible final print.
In the pursuit of a great print, a well-placed first layer is key, as it dramatically reduces the chances of mistakes in subsequent layers. If you have problems with the first layer, it is more than likely that they will affect the rest of the print.
In this article, we'll look at Cura's initial layer settings. We'll cover the basics of the first layer and give you some recommendations on values to start with for each of the initial layer settings. Let's start!
UltiMaker Cura: Full of features

The initial 3D printing layer forms the foundation of your entire model and helps ensure that the model remains firmly grounded to the printer bed. The main function of the first layer is the proper adhesion to the building surface. If the first layer of your pattern doesn't stick to the bed properly, the rest of the print probably won't turn out very well.
UltiMaker Cura has more than 50 different settings that relate to the initial layer, controlling build plate adhesion, supports and fan speed, right down to the thickness of individual wall lines. Each setting will have a different optimal value depending on the model and material of the 3D printer.
For example, a 3D printer with a brass nozzle and no heated base will need slower print speeds and less cooling than one equipped with a DiamondBack nozzle and heated base. It is also important to note that these settings must be used in conjunction with others to ensure clarity on the first layer, such as choosing the correct temperatures.
Height and width

These two settings control the "crush" of the original layer. Both settings are equally important when it comes to getting a good first coat.
The height of the initial layer determines how well it will adhere to the bed. A lower value can cause the layer to crush because it will not be strong enough for the subsequent weight of the rest of the print, causing what is known as an elephant's foot. It can also cause the nozzle to clog if the bed is not leveled properly.
Having a slightly higher value than the rest of the impression will provide better adhesion and help maintain the intended dimensions of the impression. The higher initial bed height also ensures that any unevenness in the bed leveling is evened out.
The initial layer width is also important because it controls how much material will flow out of the nozzle for the first layer. A larger initial bed width means more material will flow out of the nozzle, helping to ensure that the material adheres evenly to the bed. As such, all layer start lines should stick to each other very well.
COUNTERACTION OF THE ELEPHANT'S LEG
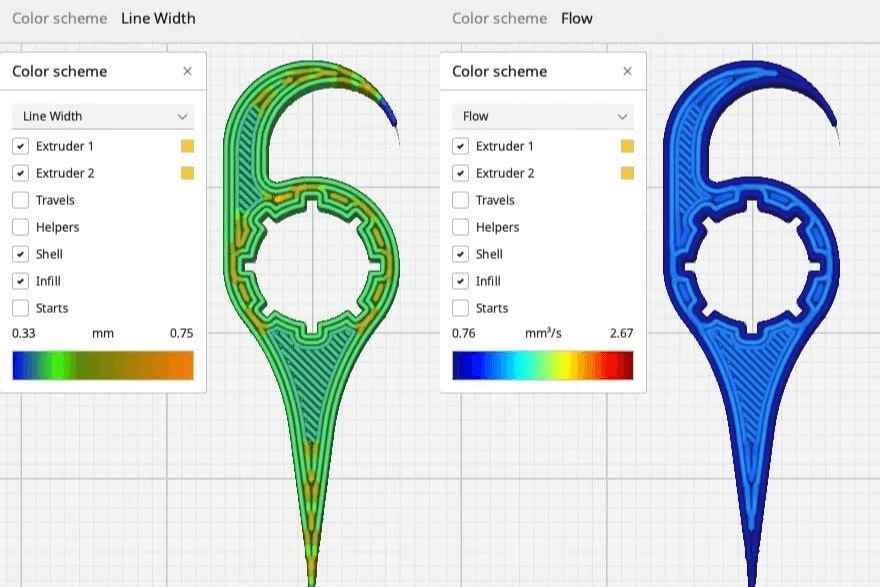
UltiMaker Cura has recently added new features to help combat the exciting, destroying elephant foot print. By reducing the values of the Initial Layer Outer Wall Flow, Initial Layer Inner Wall Flow, and Initial Layer Bottom Flow settings, the elephant's leg bulge can be softened.
SUMMARY
- Initial layer height: For a layer height of 0.2mm, you can keep it at 0.24mm or 0.28mm.
- Initial layer width: For a layer height of 0.2mm on a 0.4mm nozzle, set this value to 100% for a width of 0.3mm and a height of 0.2mm. This is the default "draft" setting for FDM 3D printers.
Speed
To begin with, the speed at which the layer is printed must allow the extruded material to cool properly while giving it enough time to spread over the build surface. The material must be laid evenly and adhere properly to the bed. If the speed is set too high, both are at risk – you may also experience underextrusion.
The speed of movement of the nozzle during this time also matters. If there are different sections in your model and the nozzle needs to move a lot for the initial layer, this helps keep the travel speed low. This helps keep the first coat smooth as there will be no sudden flutter. Otherwise, the edges of some of the sections can easily separate from the bed.
SUMMARY
- Initial Layer Velocity: It should be between 20-30 mm/s.
- Initial layer movement speed: 80-100 mm/s for the initial layer achieves the perfect balance between speed and quality.
Temperature
The correct temperature for the initial layer is critical to its success. These settings focus on the nozzle and the bed. Let's look at them one by one.
The initial layer temperature is important because it controls how well the plastic will flow from the nozzle. The higher nozzle temperature means the filament will melt enough (the reduced viscosity allows it to flow better). On the other hand, a lower temperature may result in insufficient extrusion of the first layer. So the slightly higher temperature ensures that the material flows smoothly and evenly for the first layer.
The initial layer temperature controls the layer temperature for the first few layers. PLA does not need a heated layer because it does not react much to temperature differences. However, ABS and PETG require a heated bed.
The higher bed temperature for the initial layer creates a warmer environment so that the material does not experience thermal shock. This can improve the quality of the first layer and also avoid any problems with warping or curling.
SUMMARY
- Print temperature Initial layer: It is best to set this temperature 10-15 °C higher than the rest of your print.
- Initial build plate temperature layer: Depending on the material and the limitations of your printer, you can keep this value between 60 °C and 110 °C.
Layer fans and patterns
When applying the first layer, you need to make sure that it has cooled properly. We know that a higher print temperature helps to produce an even flow of material. But if we suddenly cool this plastic with a fan, it can cause uneven cooling of the material. This results in some parts of the first layer being hot and others cool. So to make sure the first layer has enough time to cool and lay down properly, you should leave the fans off for the initial layer.
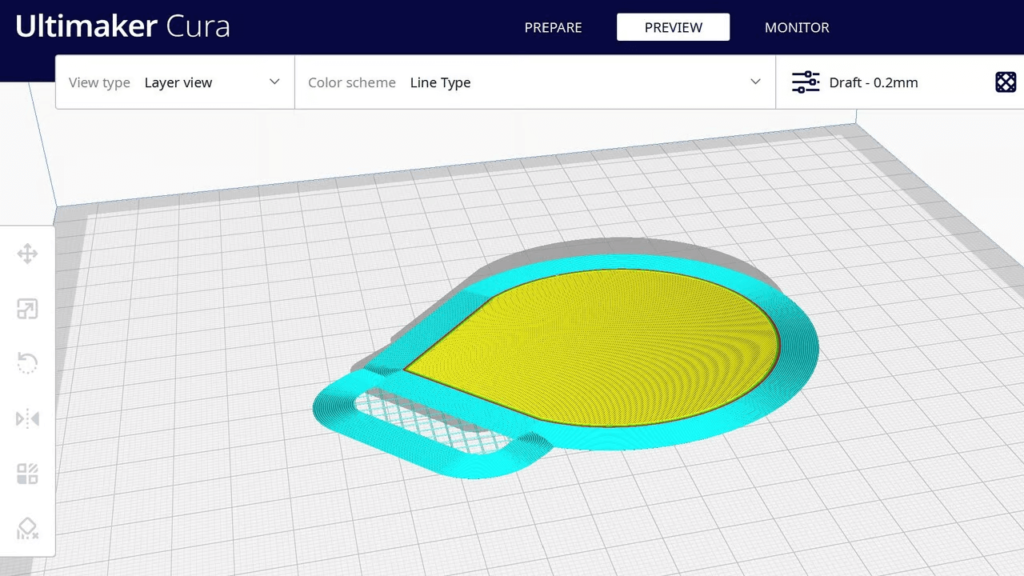
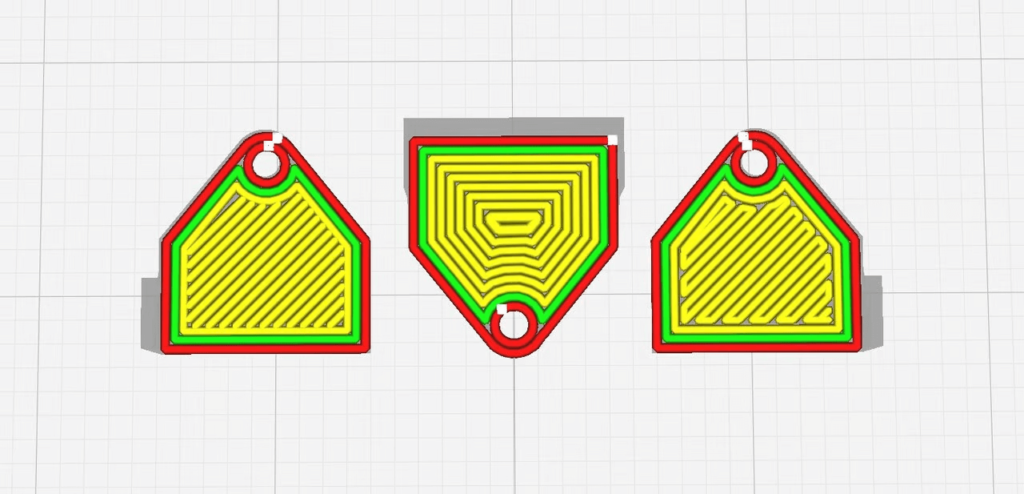
Cura also provides an option to change the initial layer model. You can choose between linear, concentric or zigzag patterns. This setting changes the orientation of the first layer's thread lines, which can have a small effect on the strength of the part and change the appearance of the bottom surface of the 3D print.
SUMMARY
- Initial fan speed: Set this to 0% for the initial layer to maximize adhesion to the build plate.
- Bottom Template Base Layer: Lines, zig zag or concentric; be sure to select the option that best fits your 3D print.
Plaque adhesion building
These settings literally exist to improve the adhesion of your first coat, and they each work differently to help you get a good first coat:
- Skirt is a perimeter that the nozzle prints before starting the actual pattern . It is not related to the model, its function is to charge the nozzle. This helps ensure that the material will flow evenly for the rest of the print.
- Brim is similar to Skirt , but touches the model. It effectively increases the surface area of the first layer. This helps better adhere the prints with a smaller surface area to the bed.
- Raft is essentially a layer below your model. The nozzle prints first Raft , the pattern is then printed on Raft . This can help the adhesion of smaller parts. The seal of Raft however, it takes a long time and can waste a lot of material. In other words, you should only use it if you have to.
Furthermore brims can now be made from multiple materials as of the latest release of Cura (at the time of writing). This solves a past issue where one material would be used to print all the edges of a 3D print, causing a second material to be disconnected from its edge.
Settings of the first layer for supports
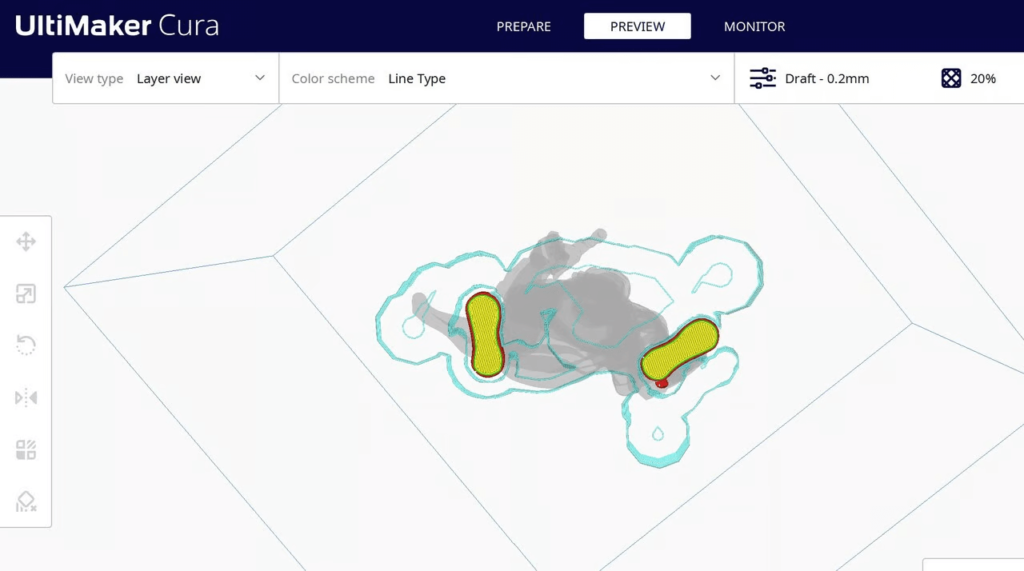
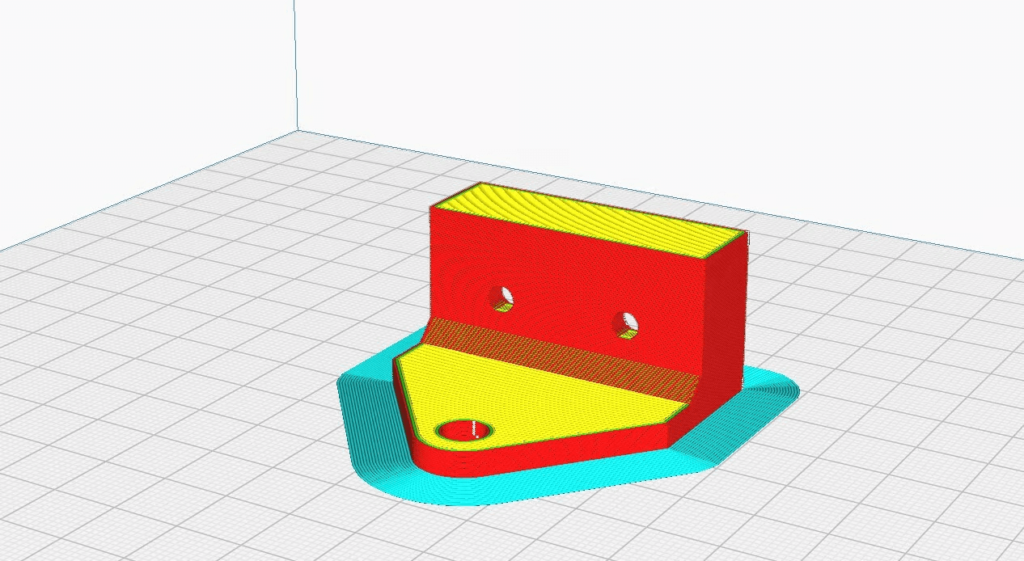
(Source: Model by iczfirz on Thingiverse)
With the amount of settings for the first layer of an object, it's often easy to overlook the few options available for the first layer of another important printed part: the supports.
UltiMaker Cura provides several settings for both standard supports and its all-new wood supports to refine adhesion and support quality. After all, if the prop fails, the 3D print fails.
- Minimum Support Floor Area: This option allows you to set the minimum area of the "trunk" or main branch of the tree support at the building plate. The larger minimum area for this main branch means more material usage, but also a stronger tree overall.
- Support Floor Thickness: With this setting you can specify how thick you want the floor under the tree support to be in mm. Set to '0' to have a hollow tree support at the base.
- Enable Support Brim: Checking this box will create an edge for both standard supports and tree supports, which increases the adhesion of the support to the bed. The width of this margin can be set by measured width or number of lines in the Support margin width setting.
0 Comments