As an important part of any 3D printer, it is extremely important to keep the nozzle clean. Read on to learn more about cleaning 3D printer nozzles!
Where everything goes down
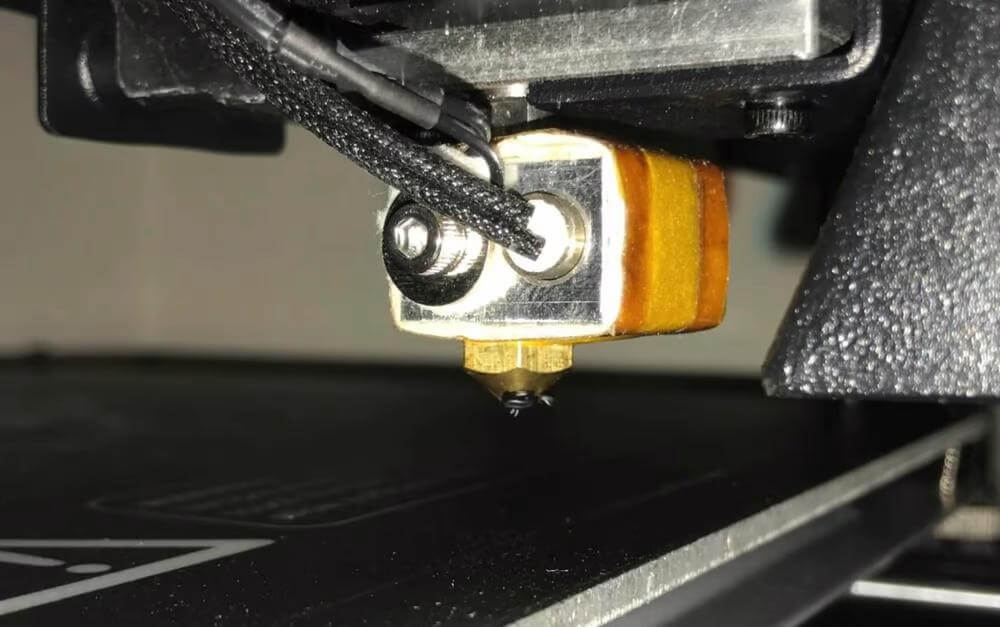
With FDM 3D printers, many parts contribute to model creation, but the nozzle is perhaps one of the most important. This is where the molten material comes out of the hot end. If you are unfamiliar with this component, it usually has a thread for connecting to the hot end and, on the other hand, a smaller hole through which the thread is passed.
The nozzle is so important because it affects the extrusion of the printer and if it does not work properly, it can cause many printing problems. Also, not all nozzles are the same. The material, diameter and other characteristics determine its productivity and life.
Nothing lasts forever, including nozzles. They degrade over time, especially when contaminated, clogged or overused. Therefore, it is crucial to regularly clean the nozzle of your printer and make sure that it works well with the other components with a hot end of the printhead module. This will help extend the life of your nozzle.
In this article, we'll look at how to clean your nozzle and prevent problems, as well as troubleshoot any issues that could put your printer out of service. Let's dive into the topic.
Identify the problem
Before we get into the solutions for cleaning your nozzle, it is important to make sure that the nozzle in fact is the problem. Below are a few problems that can be caused by a dirty nozzle. For each of them, we have included other factors that you should check before determining that the problem is in the nozzle:
- No first layer: If you have started printing and do not see the thread extruding from the nozzle for the first layer, this may be due to a clogged nozzle. However, it would be useful to check if this problem is not caused by the extruder, the Z-offset setting or the uneven bed.
- The nozzle absorbs printed material: This problem is when your nozzle applies a material and then "accidentally" picks it up as it moves through the layer. The nozzle is usually the only cause of this problem, but make sure you also have the correct Z offset and a flat bed.
- Hot End Jamming: the hot end often looks as if the thread is stuck or trapped in the middle and bottom of the hot end. As the nozzle is a hot end component, it can be a cause of congestion, but be sure to also check that the hot end path (eg PTFE tube) is not the cause.
- Inconsistent extrusion: Inconsistent extrusion usually looks as if your printer cannot handle the extrusion of the material. It extrudes material in sudden bursts when it has to extrude an even amount of material sequentially. However, make sure that this problem is not caused by wet thread or the stepper motor of the extruder (in particular by its power).
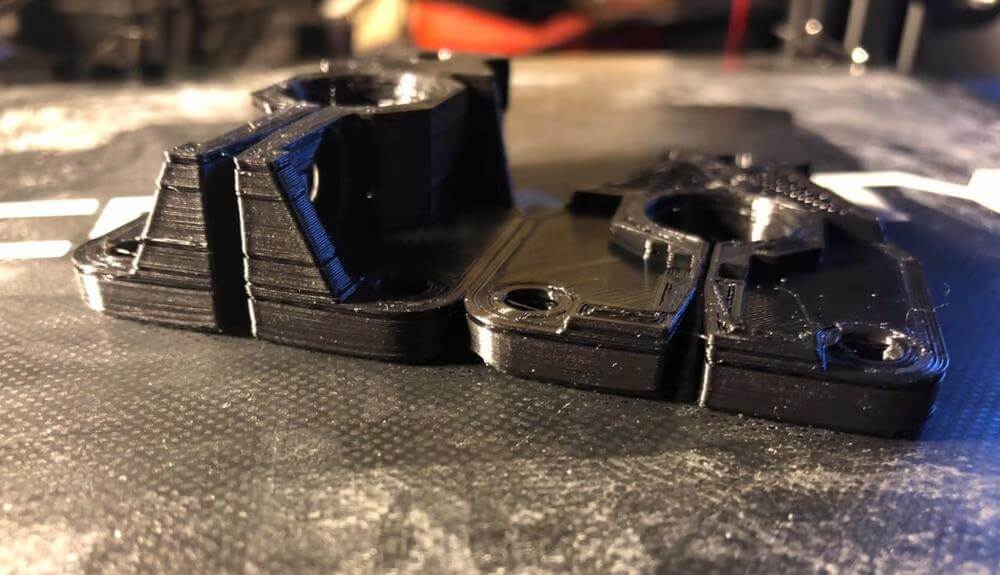
- Under-extrusion: Under-extrusion is similar to the previous one, but is a more moderate version, which gives an imprint with obviously missing parts. Also make sure that the problem is not caused by a wet thread, low extruder tension or a smooth thread path.
- Missing seal: If you start printing and return to "finished" printing with only a few printed layers, this may be due to a clogged nozzle. However, be sure to also check that the thread diameter is correct, the print temperature is in the thread material range and the extruder is rotating (OK if the thread does not come out, but make sure the extruder motor is running).
As we said, it is imperative to first diagnose the source of the problem such as the nozzle. While cleaning your nozzle is usually not a bad idea, it may not solve the problems you are experiencing. A good idea to effectively fix a printing problem is to consider any potential cause of the problem. Then, moving from the easiest to verify to the most difficult, explore every possible reason to find the real culprit.
Once you are sure that the printing problem you are experiencing is due to a dirty nozzle, move on to cleaning methods.
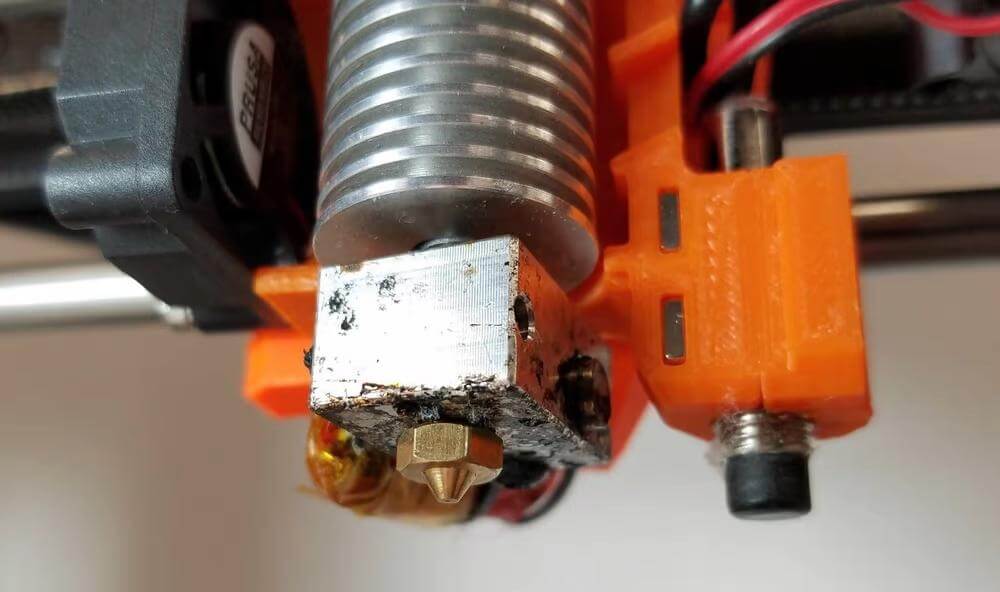
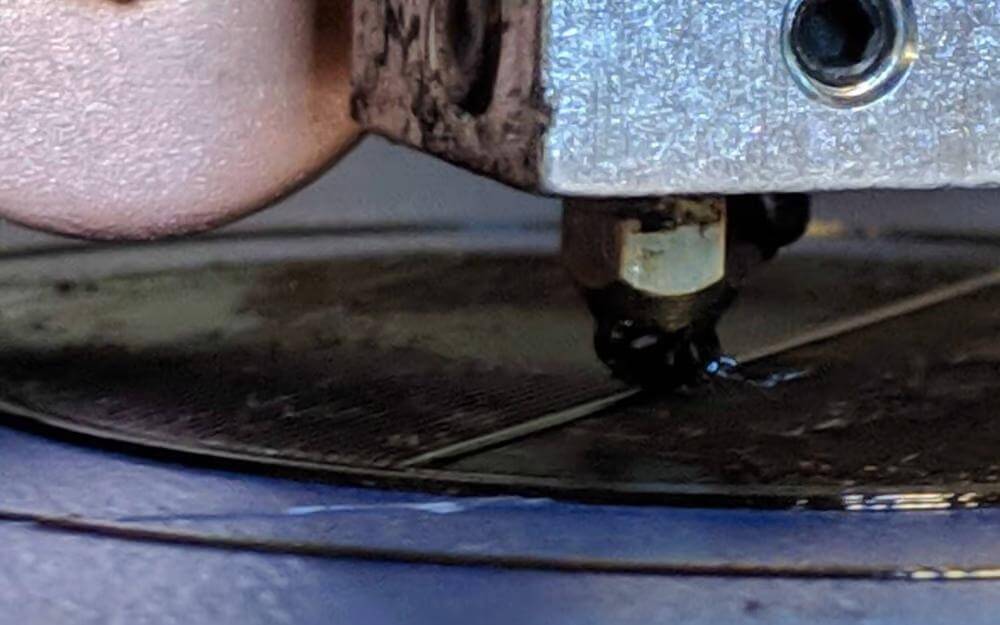
External debris
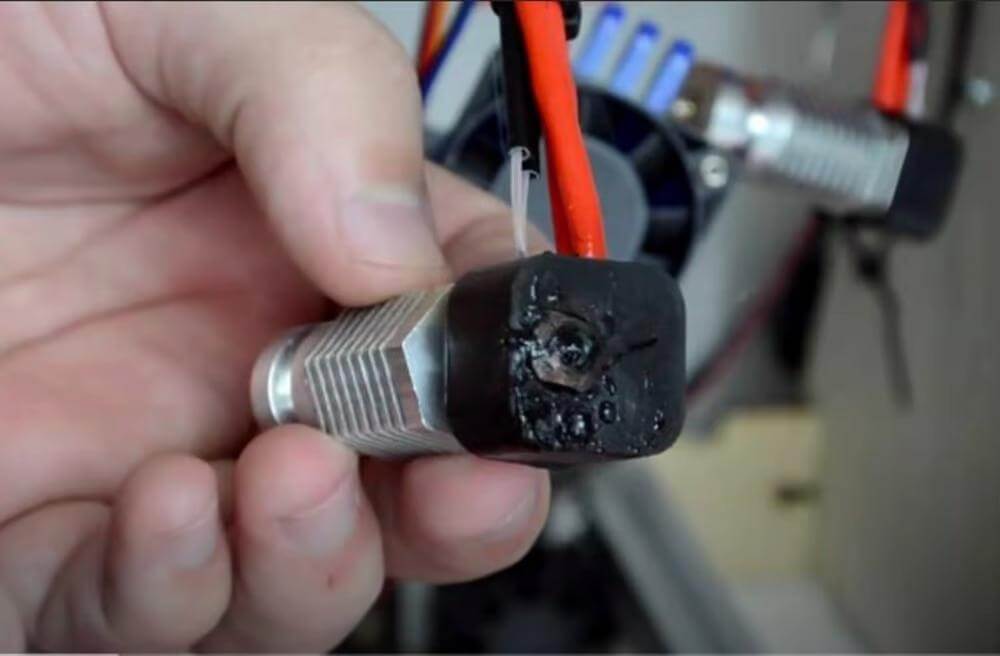
Debris on the outside of the nozzle is the most visible of all nozzle problems. Debris is usually an excess of molten material that sticks to the nozzle during printing.
Although this problem is almost always caused by too low a nozzle - often when printing the first layer the problem gets worse.
Solutions
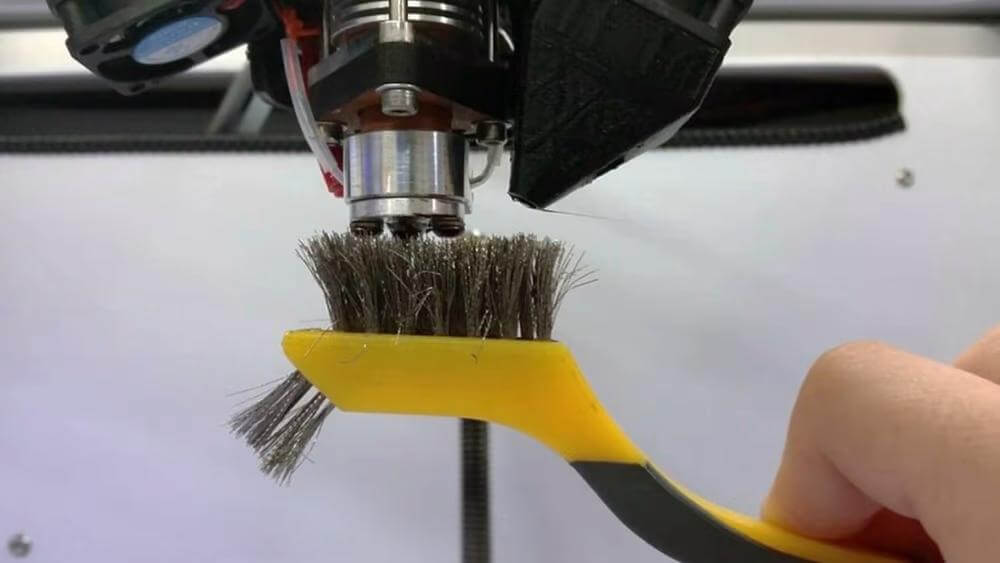
First, clean the nozzle with a damp cloth or alcohol towel while the nozzle is hot. This can cause a little steam, but it will really remove any material stuck to the nozzle. If this does not work, you can also use a wire brush, a small blade or needle to remove any remaining debris from the nozzle.
While this cleans the outside of the nozzle, it is best to prevent material from falling on the nozzle in the first place. So, consider increasing the Z offset and leveling the print bed. It also helps to use a silicone sock that covers most of the nozzle and prevents too much material from sticking.
Clogging
Clogging is probably the most common problem with nozzles. They occur when debris inside the hot end blocks the nozzle outlet, preventing the thread from escaping (resulting in insufficient extrusion or worse missing impressions).
There are two types of nozzle blockages: partial blockages and full blockages. As you may have guessed, a complete blockage is the worst type of blockage. The debris blocks the entire outlet, thus trapping the thread in the extruder. Partial blockages occur when debris blocks only part of the outlet. Although it is the "lesser evil" than a complete blockage, you still need to clean the nozzle in both cases.
Solutions
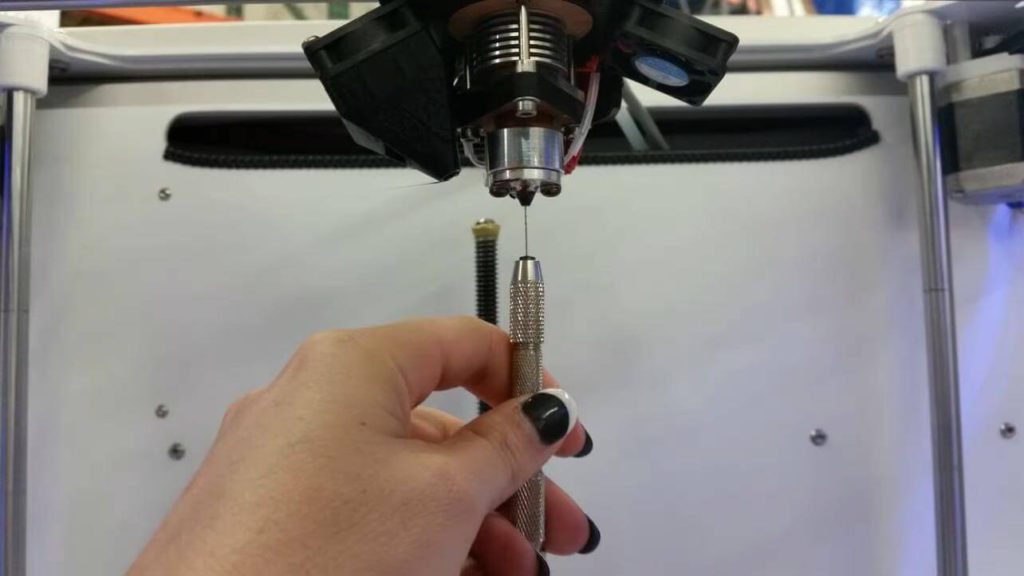
There are several methods to remove nozzle blockages and we will look at three of them. The first and easiest way is to insert a small needle into the nozzle to break it and push the debris aside.
The second method is to perform a cold pull, which removes the residue completely from the hot end. If necessary, contact us from 3MG Bonev Ltd. for more clarification.
The third method is to completely replace the clogged nozzle. This method is almost painless economically if you use ordinary brass nozzles, as they are cheap. For this method, start by heating the hot end to melt any solidified material stuck in the nozzle. Also, be sure to remove any threads that are fed into the extruder.
Once the clogged thread has softened due to the heat, unscrew the nozzle from the hot end. Before installing the new nozzle, be sure to clean the hot end with a small metal "rod" or clip to remove excess thread stuck in the module.
Hot end PTFE tube
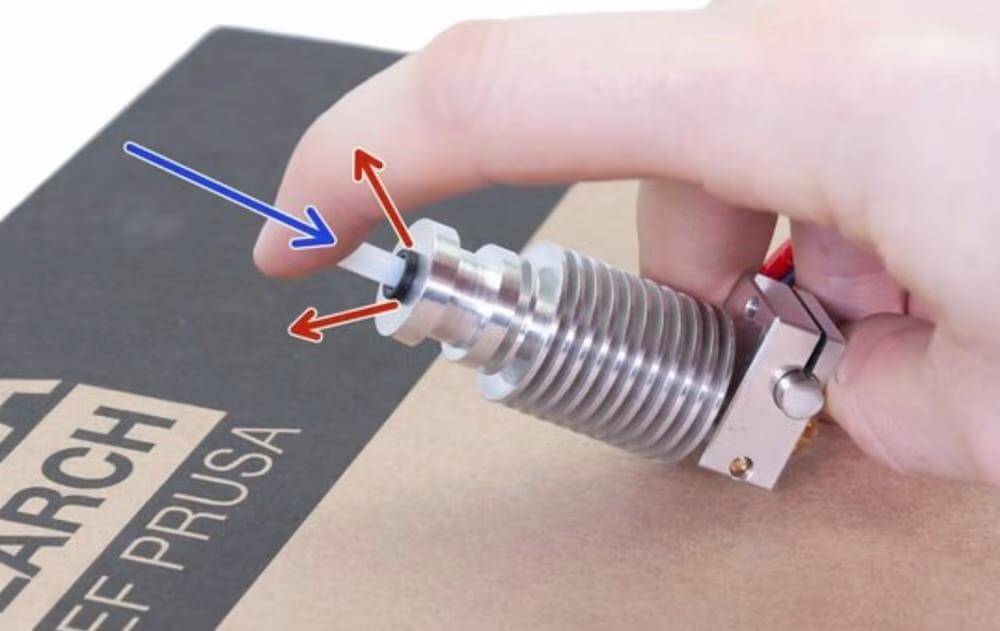
A gap between the PTFE tube and the top of the nozzle can also cause problems. Leaks can occur due to the uneven end of the PTFE pipe when the pipe is not pushed down enough into the hot end or when the nozzle is not screwed far enough into the hot end to align with the pipe.
If there is a gap, the molten thread will fill that gap. When the material cools, it will completely clog the hot end. This can happen in both PTFE lined and all-metal hot edges.
Solutions
First, remove the PTFE tube from the hot end (if possible), then screw the nozzle almost all the way in (about 95%). After checking that the end of the PTFE is flat and the PTFE connector (holding the tube) is screwed firmly into the hot end, place the tube down the hot end.
Finally, screw the nozzle and the last part into the hot end to achieve a tight seal between it and the PTFE tube.
Replacements and upgrades
If none of the above solutions work or you just suspect that your nozzle has deteriorated significantly and no cleaning will help, it may be time to get a new one.
As mentioned earlier, nozzles differ in material, diameter and other factors. These characteristics affect how the nozzle can handle the seal and how the prints will be obtained. For example, abrasive materials, such as glow in the dark or wood-filled materials, significantly accelerate the decomposition of lower quality nozzles.
There are at least two important things to keep in mind when replacing or upgrading your 3D printer nozzle: diameter and material. For a more in-depth look at the world of nozzles, we will publish a special article.
We wish you success and enjoyment with 3D printing of your projects! But if you still encounter problems, do not hesitate to seek our help and advice through: 3mgbonev@gmail.com, through Messenger - 3MG Bonev Ltd. or just call us on 0885636868.
0 Comments