Ако се чудите какво е 3D слайсер, той дефинира модел и инструктира 3D принтер как да се отпечатва. Научете всичко за този софтуер!
Слайсерът е програма, която преобразува цифрови 3D модели в инструкции за отпечатване за даден 3D принтер за изграждане на обект. В допълнение към самия модел, инструкциите съдържат въведени от потребителя параметри за 3D печат, като височина на слоя, скорост и настройки на поддържащата структура.
Всяка технология за 3D печат създава 3D обекти чрез добавяне на материал слой по слой. Софтуерът Slicer следователно е наречен подходящо, защото на практика „нарязва“ 3D модели на много хоризонтални 2D слоеве, които по-късно ще бъдат отпечатани, един по един.
В тази статия ще обсъдим ролята на слайсерите в 3D принтирането, ще уточним как работи 3D нарязването за FDM и за Resin и накрая ще завършим с нарязването в други технологии за 3D принтиране. Да започваме!
Какво прави слайсерът?
Накратко, слайсерът служи като мост между цифров 3D модел (произведен чрез компютърно проектиране или CAD ) и производствена система, като превежда дизайна в инструкции за – в този случай – 3D принтер, който да изпълнява.
Тези инструкции се предават под формата на командни редове, обикновено наричани компютърно цифрово управление (CNC) . Както подсказва името, въведените команди контролират всички аспекти на принтера, включително скорости на движение и температури, наред с много други. Може да се прави разлика между 3D принтери и други CNC машини, като тези, предназначени за фрезоване , плазмено рязане и струговане . Както беше обяснено, 3D принтерите се управляват чрез CNC инструкции, но те не са най-честият пример, когато потребителите мислят за термина.
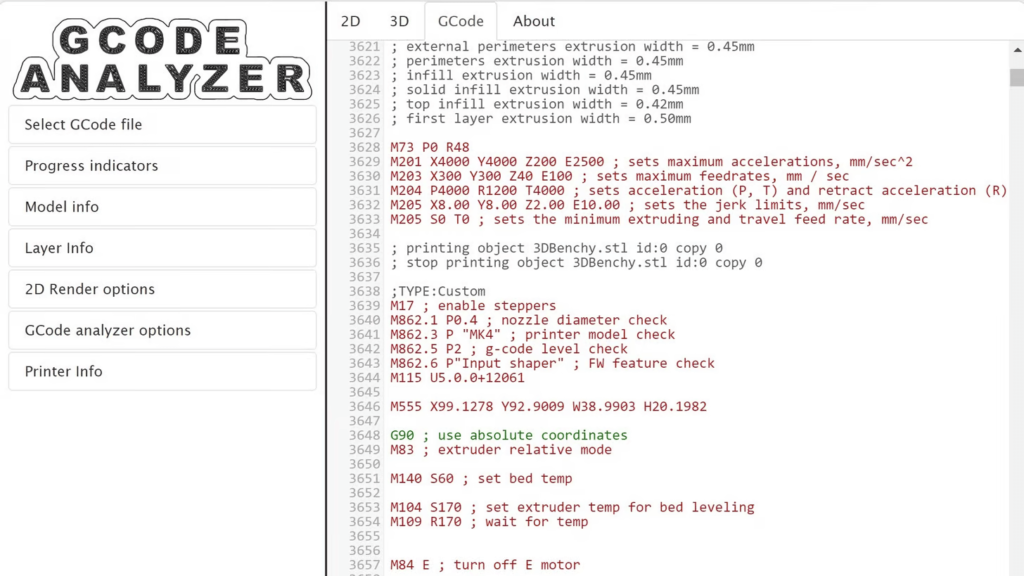
Във всеки случай, въпреки че има много различни начини за „разговаряне“ с тези машини, преобладаващият език е G-код , който се използва в различни видове производствени системи – и разбираемо, има специфични команди за различни технологии . G-код, както се вижда по-горе, дава инструкции, ред по ред, какво трябва да прави 3D принтерът.
Процедурите за 3D нарязване може да изглеждат прости за всеки, който е отпечатал 3D модел. Но какво наистина се случва зад този подреден потребителски интерфейс? Нека да разгледаме какво ни е необходимо, за да имаме успешен опит със слайсера.
Изисквания

За да подготви успешно модел за 3D печат и да генерира G-код, слайсерът изисква два различни входа: самия 3D модел и набор от параметри за печат, които казват на машината как трябва да се извърши действителното отпечатване.
3D модели
Можете да създавате цифрови 3D модели, като използвате голямо разнообразие от CAD софтуер , вариращ от артистичния Blender с отворен код до професионалния и високотехничен SolidWorks . Проблемът е, че всеки цифров файл, създаден с конкретен CAD инструмент, има определен формат, като „Blend“ (.blend) за Blender и „part“ и „assembly“ (.sldprt и .sldasm) за SolidWorks.
Като алтернатива можете да намерите модели, създадени от други, в хранилища . Те може да са налични в различни формати в зависимост например от това дали са предназначени да бъдат отпечатани от единици с много материали или включват повече производствени настройки .
Ако 3D слайсерите трябваше да обработват всички тези различни формати, те ще изискват огромна база за поддръжка, но дори и така, със сигурност не могат да покрият целия софтуер за моделиране. Поради тази причина се използва стандартизиран файлов формат. Най-често свързваният с 3D печат е STL (.stl), който се експортира от повечето софтуери за 3D моделиране. Няма нужда да се паникьосвате, ако програмата ви не експортира този тип файл – има много конвертори на STL файлове .
Параметри на 3D печат
След като вашият 3D модел е във формат, който слайсерът може да разбере, следващата стъпка е да предоставите подробности за печат, като височина на слоя, скорост, позициониране на детайла и няколко други настройки, свързани с производството. Тези въведени от потребителя стойности се дефинират преди отпечатването.
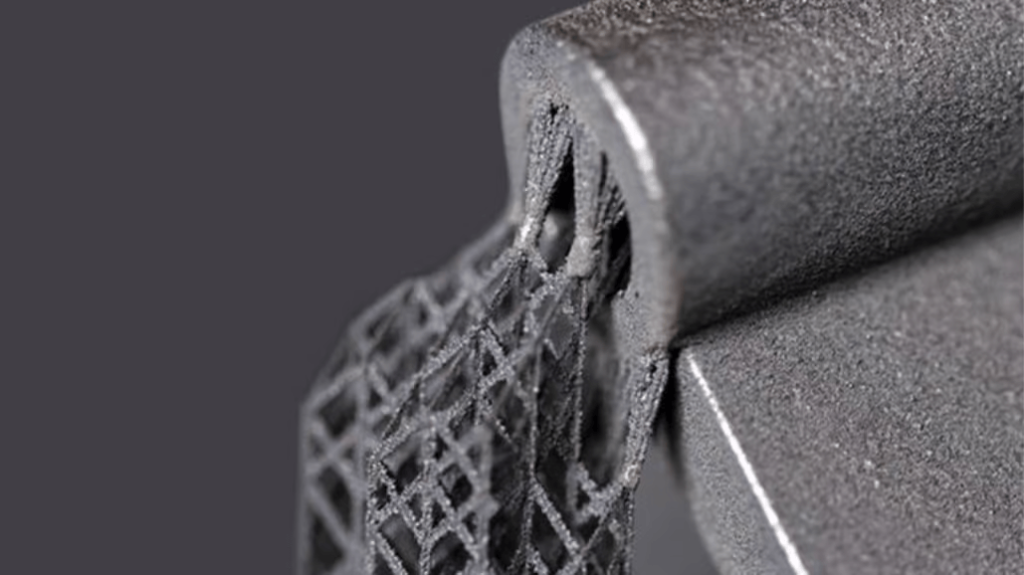
3D моделът може също да бъде частично модифициран по време на тази стъпка. Можете да променяте размерите чрез функции за мащабиране и частите могат да бъдат частично или изцяло издълбани, запълнени с шарки за запълване и осигурени стойности за дебелина на стената . Тази стъпка също така включва активиране на поддържащи структури , което е една от най-практичните функции на 3D слайсер.
Параметрите за 3D печат ще се различават в зависимост от типа технология ( FDM или базирана на смола ), както и от вида на материала (различните видове нишки за FDM изискват различни настройки), обекта, който ще бъде отпечатан, и неговата предназначение. Така че нека да видим какво влиза в действие за всеки.
FDM нарязване
Fused deposition modeling (FDM) е техника за екструдиране на материал, при която печатаща глава се движи в две различни посоки (X- и Y-оси), докато пластмасовата нишка се разтопява и избутва през дюзата, за да се създаде 2D слой. Този процес се повтаря, докато, слой по слой, 3D обектът е завършен.
FDM принтерите зависят в голяма степен от движението, за да изградят 3D обект, с фин, многоосов контрол, необходим за точен печат. Както споменахме, различните материали ще имат различни настройки, от различни температури до скорости , и в зависимост от модела, поддържащите структури също могат да влязат в действие.
След като 3D моделът и настройките за печат са определени, слайсерът ще обработи тези входове и ще генерира файл с G-код, който след това се качва на 3D принтера.
Последната стъпка се извършва изцяло от вътрешните алгоритми на 3D слайсера, което означава, че не е свързана с потребителя и че всеки слайсер ще направи това по различен начин. При простите модели разликите между слайсерите може да останат невидими, но при по-сложните те със сигурност ще бъдат забележими. Някои слайсери може да работят по-добре с определени 3D принтери, но няма твърдо правило, за да знаете кой ще работи най-добре за вас.
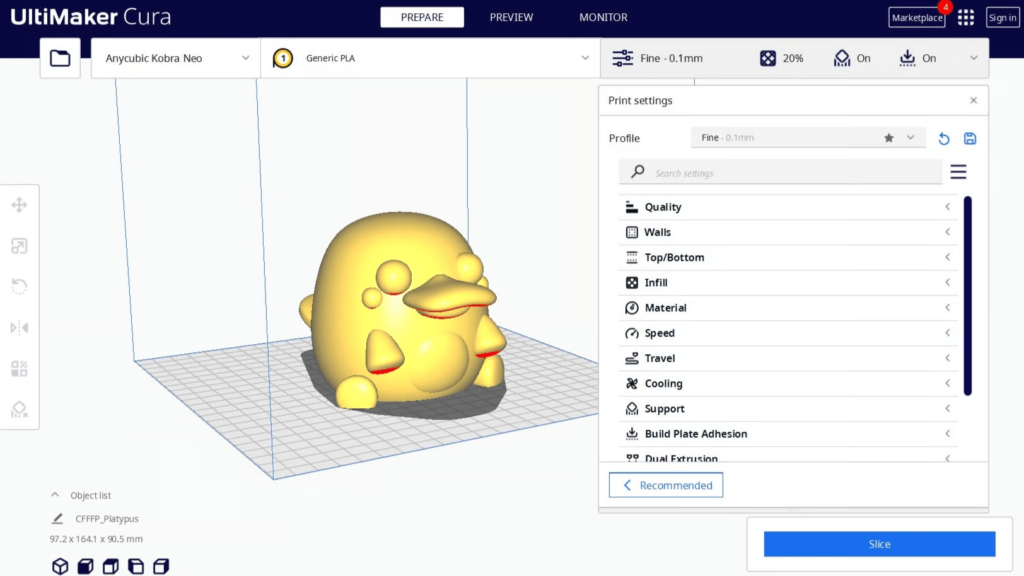
Много 3D слайсери са налични за FDM, някои от които са безплатни. UltiMaker Cura и PrusaSlicer са сред най-популярните в общността с отворен код, докато има патентовани опции като Bambu Studio на Bambu Lab , а Simplify3D е първокласен (и скъп) избор.
Нарязване на смола
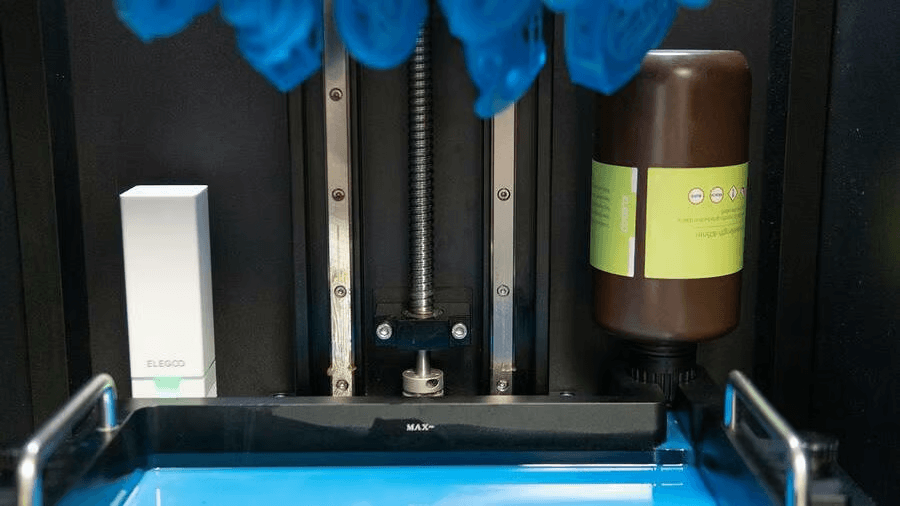
Vat polymerization използва UV светлина в различни форми за втвърдяване на течна смола в слоеве. След като даден слой се втвърди, строителната платформа се премества, за да позволи на свежата смола да се запълни и оформи следващия слой, докато се създаде 3D частта.
Тази техника за 3D печат разчита по-малко на движение в сравнение с FDM. За „истинските“ SLA принтери, отклоняващото огледало се върти, за да насочи UV лазерен лъч към смолата, очертавайки и оформяйки всеки 2D слой. За DLP и LCD (или MSLA) 3D принтери единственото реално движение се извършва от строителната плоча, която се движи изключително по Z-ос по време на целия процес на печат.
Една разлика от процеса на печат FDM е, че принтерите със смола не използват G-код в изходните си файлове. Всъщност повечето настолни 3D принтери със смола използват собствен формат и следователно собствен софтуер за нарязване. Все пак има налични слайсери на трети страни, като Chitubox , FormWare , които са съвместими с много настолни принтери.
Нарязването за смола е донякъде подобно на FDM, но параметрите на 3D печат се различават. Вместо температура или охлаждане на дюзата, настройките на смолата включват време на излагане и скорости на повдигане. Въпреки това, височината на слоя и функции като разпределение на поддържаща структура също присъстват в смолата, точно както в повечето технологии за 3D печат. И както се случва с различните нишки, в зависимост от вида смола, който изберете, настройките ще трябва да бъдат съответно коригирани.
Slice от останалите
Други технологии за 3D печат като SLS , SLM или дори EBM и binder jetting изискват специфични слайсери поради допълнителната сложност и разнообразие на техните процеси. Например, SLS система от един производител няма да функционира по същия начин като своя конкурент, поради което повечето от тези машини използват софтуер за нарязване от официалния производител.
Въпреки това има някои алтернативи. Софтуерната компания Materialize предлага набор от инструменти за подготовка и оптимизиране на 3D модели за отпечатване в технологии за 3D печат. Този софтуер включва различни модули за последваща обработка, включително Build Processor , който подготвя цифрови части за печат на широка гама от марки 3D принтери, включително HP, EOS, Desktop Metal и BLT.
Някои CAD програми, като Fusion 360 на Autodesk , могат да извършват подготвителни операции за изграждане и да изпращат задания за печат директно към 3D принтери, които използват FDM, SLA, SLS, SLM или хибридна технология. С Netfabb на Autodesk можете да изпращате задания за печат директно към 3D принтери, включително EOS, Formlabs, Arcam, HP, Sinterit и SLM.
Друга CAD програма с директна интеграция към 3D принтери е NX от софтуерния гигант Siemens. Софтуерът NX for Manufacturing е интегрирана система за програмиране на CNC машинни инструменти, управление на роботизирани клетки, задвижване на 3D принтери и наблюдение на качеството на продукта.
Ако имате нужда от допълнителни разяснения, кой Slicer да изберете или първо в коя технология за 3D принтиране да инвестирате- не се колебайте да се свържете с нас:
0 Comments