Предотвратяване на изкривяване, подпомагане на адхезията и намаляване на отпадъците – какво не харесвате в ръба за 3D печат? Прочетете, за да научите повече!
Лошата адхезия на първия слой може да направи 3D отпечатването направо невъзможно. Моделите със сложна геометрия могат да се отделят от леглото, докато печатът напредва, а изкривяването – което се превръща в проблем по време на процеса на печат и не е очевидно от самото начало – може да съсипе отпечатъците и да коства загубено време. Всички тези проблеми могат да бъдат решени частично или напълно с помощта на brim ( периферия ).
Brim е незадължително допълнение към вашия печат и може да се активира във вашия софтуер за нарязване . Това не е част от вашия модел, а по-скоро настройка за срязване, за да помогне с качеството на печат на първия слой на вашия печат. Дали имате нужда от такъв зависи от естеството на частта, която ще отпечатате, и качеството на вашия принтер.
Има три различни варианта за допълнения: skirt, raft и brim ( пола, плот и периферия). В тази статия ще се съсредоточим върху brim, обсъждайки кога трябва да ги използвате, кога трябва да ги избягвате и как да използвате brim правилно, за да извлечете максимума от него.
Нека се потопим!
Кога да използвате brim?
Периферията е като skirt с 0 mm разстояние от модела. Можете също така да кажете, че е като raft, който е само един слой в периферията на модела, но който използва по-малко материал, отнема по-малко време за печат и е по-лесен за премахване.
Може да не е необходима периферия за всеки модел, който отпечатвате. Ключът е да знаете кога да го използвате и кога можете без него. Дори в случаите, когато използвате brim, настройките на периферията са важни за разглеждане и могат да повлияят на цялостния резултат от печата. Няма лек за всичко, когато става дума за brim и трябва да вземете предвид всяка индивидуална ситуация.
Така че, нека да проверим някои ситуации, когато периферията е добро решение.
Изкривяване

Изкривяването е проблем при 3D печат, който кара първите слоеве на отпечатъка да се свиват поради издърпването на слоевете по-нагоре. Това е нещо, което се случва с напредването на печата. Когато изкривяването стане очевидно, може би вече сте инвестирали много време и материал в отпечатъка.
Изкривяване може да се случи с много нишковидни материали, въпреки че някои са по-податливи на изкривяване от други. ABS , например, е печално известен. Нишките с ниско качество също са по-склонни да се деформират. В допълнение към материалите, действителният дизайн на модела може да доведе до този проблем. Големите модели с плоско дъно, например, може да се изкривят по време на печат.
Използването на периферия ( brim) помага при изкривяване, защото действа като мрежа, която принуждава долната част на отпечатъка да остане прикрепена към леглото. Подобно на начина, по който горните части на отпечатъка могат да се опитат да издърпат основата нагоре, периферия ще я издърпа надолу, задържайки я на място.
Когато искате да използвате brim, за да предотвратите изкривяване, броят на линиите, определящ ширината на периферията, ще зависи от повърхностната площ на вашия основен слой. Колкото по-голям е, толкова повече линии трябва да има brim, така че да има достатъчно сила да издърпа частта.
Рискови геометрии
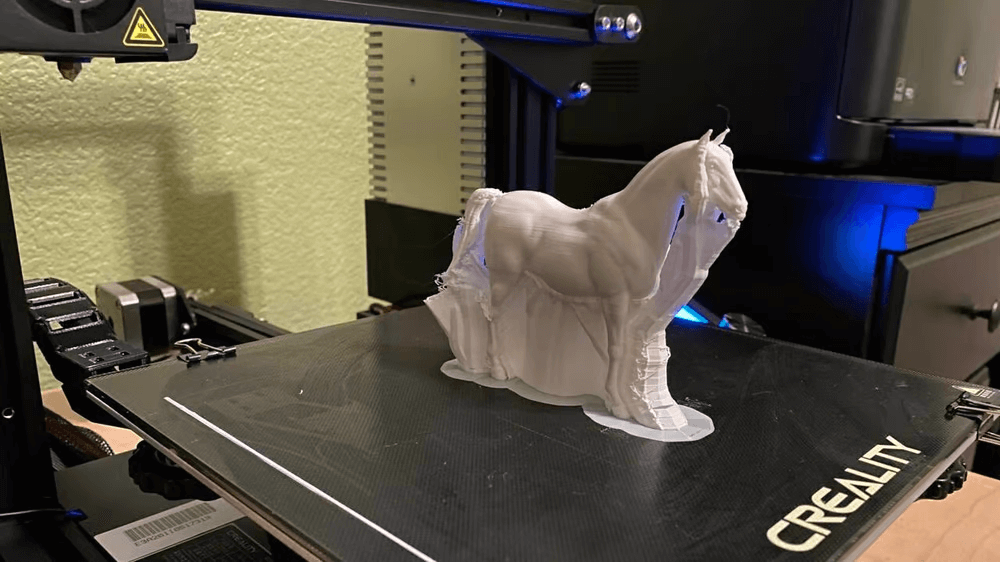
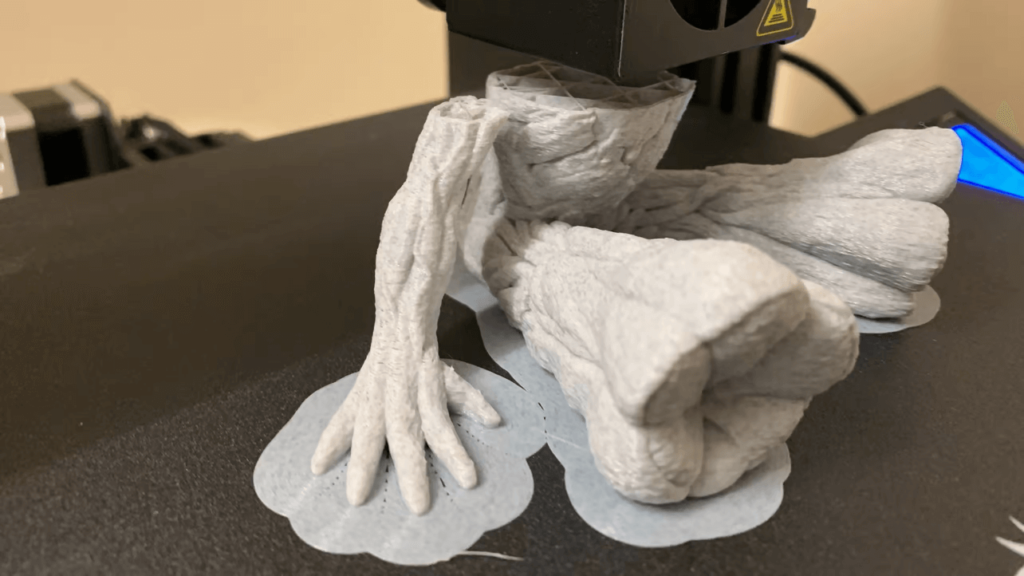
Представете си, че отпечатвате изправен кон. Всяко копито и крак се отпечатват отделно, след което се прикрепят към тялото, докато отпечатването напредва. Тези малки отделни части могат да се разхлабят поради лекото издърпване на нишката с всеки добавен слой. Не е необичайно отпечатъкът да започне без проблем и няколко слоя по-нагоре, едно от копитата се отделя от леглото. След това отпечатъкът се разваля.
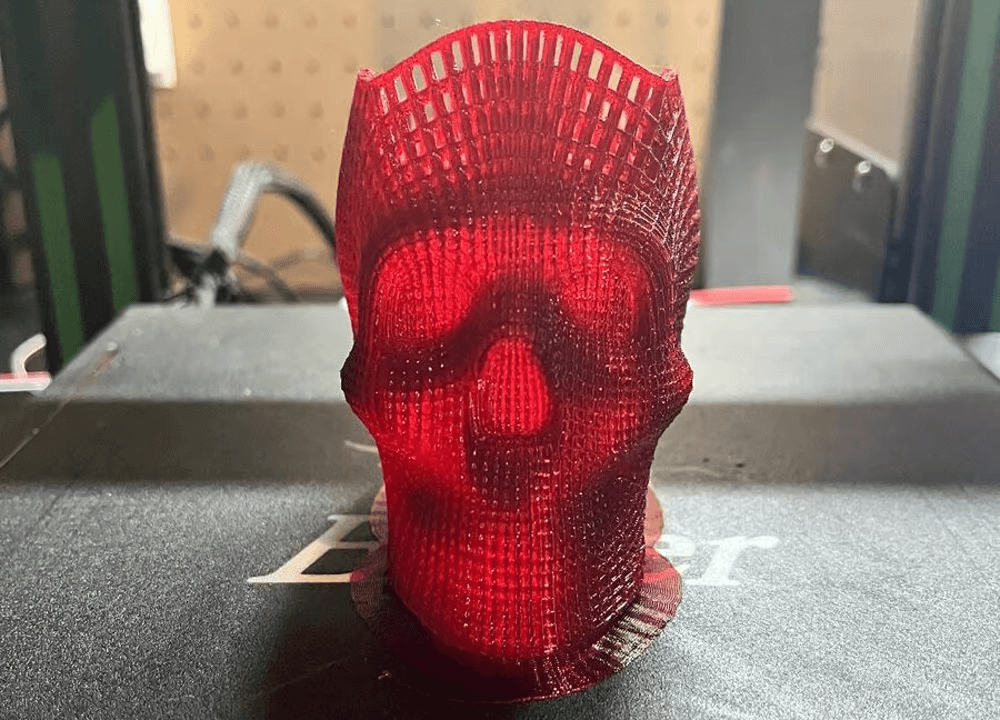
По същия начин части с изпъкнали извивки в първия слой или дори остри ъгли могат да имат проблеми със залепването към масата на 3D принтера. Това може да се реши с brim, който помага да се задържи геометрията на място. Ако възнамерявате да отпечатате сфера или подобна геометрия, където има много малка повърхност, докосваща изграждащата плоча, периферията може да предотврати отделянето от изграждащата плоча.
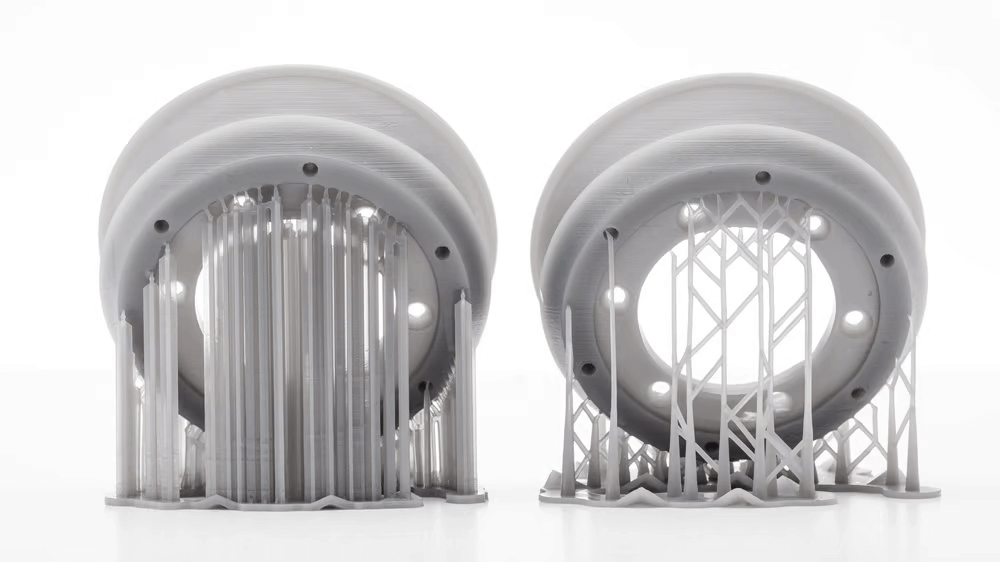
Малки опорни конструкции
Formlabs )
Ако даден печат се нуждае от опори , но няма достатъчно място за поставянето им, защото, например, детайлът, който поддържат, е твърде малък, принтерът може да има проблеми с поставянето на такава малка геометрия и опорите може да не залепнат правилно. Следователно перифериите могат да помогнат за задържане на геометрията на опората по същия начин, както биха направили с основния печат. Това е така, защото пластмасата се прикрепя по-добре към себе си, отколкото към други материали, което е причината, поради която обикновено всичко върви гладко след първия слой.
Brim основно поема тежестта на усилието за адхезия на първия слой. По този начин действителната част, която ще бъде отпечатана, може просто да се прикрепи към самия brim.
Кога не трябва да използвате периферия
Ако обмисляте brim, за да проверите дали печатащото легло е правилно нивелирано, дали нишката се екструдира или други настройки за печат, но не се нуждаете от действителна помощ за залепване на първия слой, по-добре е да използвате skirt. Използва по-малко материал и не докосва модела.
Използването на brim е добър начин да проверите калибрирането и адхезията на първия слой, преди да започнете действителния печат. Въпреки това, brim може да се обърка с точността на размерите на частите, тъй като може да бъде закрепен твърде здраво, което изисква рязане и евентуално шлайфане .
Краищата могат да повлияят негативно на части, които имат функция за щракване или такива, които трябва да бъдат сглобени в други части. Такива части изискват висока точност на размерите, но brim всъщност може да променя крайната геометрия на вашия модел. Може да не е необходимо да го избягвате напълно, но е важно да имате предвид оптималната ориентация на леглото, за да запазите функционалността на печата.
За разлика от това, ако възнамерявате да отпечатате фигурка, където точността на размерите не е толкова важна, можете да използвате brim, за да помогнете на първия слой, без това изобщо да повлияе на крайния резултат.
Плюсове / минуси
Всичко казано по-горе, нека да разгледаме плюсовете и минусите.
Плюсове
- Предотвратява проблеми с изкривяването.
- Подобрява адхезията на леглото, което води до по-високи шансове за успешен печат.
- Използва по-малко материал в сравнение с raft и е по-лесен за премахване.
- Краищата не променят повърхностното покритие на първия слой. Когато използвате raft , първият слой не е толкова гладък като този, който се прикрепя директно към леглото за печат, защото трябва да се остави разстояние между raft и модела, за да се улесни отделянето. С brim това не е проблем, защото минава само около модела.
Mинуси
- В зависимост от това колко близо една до друга са линиите в първия ви слой, може да се наложи шлайфане или рязане.
- Ако имате изискване за точност на размерите, но трябва да изрежете или шлайфате перифериите, това може да повлияе отрицателно на точността.
- Brims произвеждат количество отпадъчен материал.
- Възможно е да се счупят деликатни геометрии при премахване на перифериите, така че се препоръчва повишено внимание, когато го правите.
Настройки на слайсера
В зависимост от софтуера за рязане, който използвате, настройката на brim може да се промени малко. Ще забележите разлики между подходите на различните слайсери към тях. В Cura , например, настройките за brim са сред настройките за адхезия на изграждащата плоча. В Simplify3D brim се счита за добавка, докато в PrusaSlicer той е обединен с raft и има своя собствена категория настройки, brim и brim.
Cura и PrusaSlicer ви позволяват да имате brim само отвън или както отвън, така и отвътре на печата. В Simplify brim може да бъде само отвън. И в трите опции можете да добавите отместване към brim. Ако въведете стойности около 0,1 mm или 0,2 mm, можете да решите проблема с необходимостта от шлайфане на вашия печат след това.
Независимо от разликите, лесно е да разберете същността му във всеки нов софтуер с известен опит. В следващите раздели ще обясним по-подробно как да настроите brim в Cura.
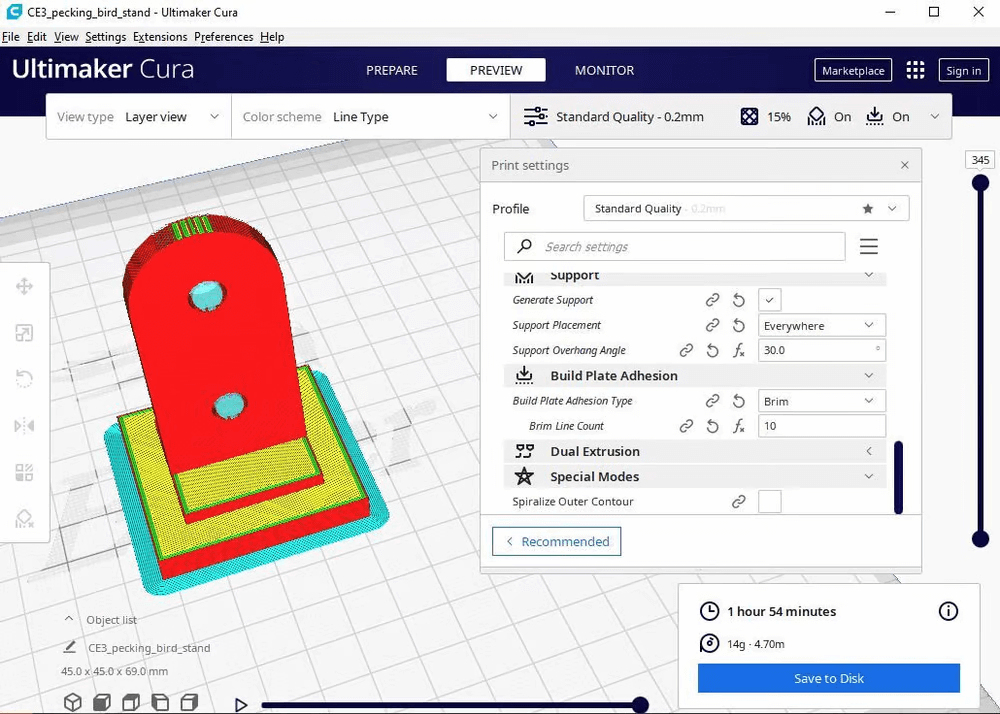
- Отворете панела “Print settings” ( „Настройки за печат“), след което щракнете върху раздела “Build Plate Adhesion” („Сцепление на плоча за изграждане“).
- Изберете „Brim“ в падащото меню „Build Plate Adhesion Type“.
- В полето „Brim Line Count“ можете да определите ширината на вашата периферия чрез брой линии.
Това са единствените две настройки в конфигурацията на настройките “Basic” („Основни“), но ако поставите отметка на “All” („Всички“) в падащото меню до полето “Search Settings” („Настройки за търсене“), има още няколко настройки, с които да си поиграете.
Няколко от настройките включват „Brim Distance“, което е изместване спрямо ръба, и „Brim Replaces Support“, което замества опорите за ръба в ниски секции, които се нуждаят от опора. Когато “Brim Replaces Support” („Обиколка само отвън“ ) не е активирана, ако моделът е стоящ цилиндър, например, той също ще създаде обиколка отвътре.
Brim Съвети
Както при всичко в 3D принтирането, няма универсален начин да настроите всичко и да постигнете отлични резултати от първия път. Имате нужда от опит и малко анализ, за да разберете какво е необходимо във всеки отделен случай. За да ви помогнем, имаме няколко съвета, за да започнете.
Предназначение
- Помислете за целта на brim. Има значение какво искате да постигнете с него.
- Ако искате да отпечатате модел, съдържащ сложна геометрия, нямате нужда от много brim.
- Ако трябва да предотвратите изкривяване, имате нужда от повече линии, така че brim да има необходимата сила, за да издърпа долния слой на отпечатъка.
Размер
- Необходимият брой редове е спрямо размера на долната повърхност на отпечатъка. Няма перфектен фиксиран размер на brim.
- Ако един модел е с размери 10 x 10 x 10 mm, brimс 5 линии е достатъчно голям за всякакви цели. Въпреки това, ако моделът е с размери 230 x 230 x 230 mm и имате нужда от brim, за да предотвратите изкривяване, 5-редовият brim може да е без значение, защото ще бъде твърде малък в сравнение с цялостния модел.
Премахване на brim
- Рязането на brim може да доведе до грозни покрития и остри ръбове.
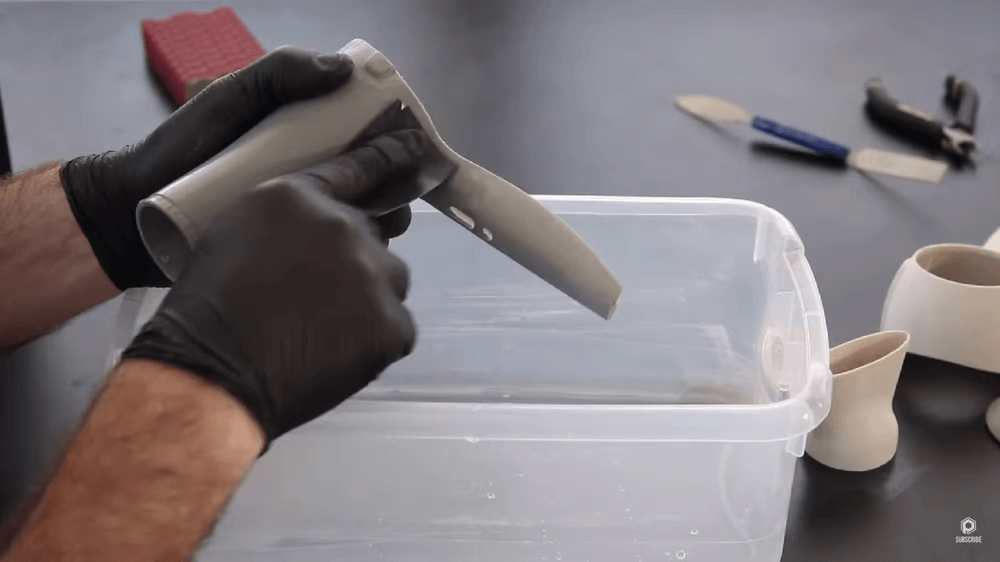
- Опитайте се да отчупите brim, без да го режете. Можете да го огънете няколко пъти, което ще отслаби и отдели материала.
- Уверете се, че вашият отпечатък не е достатъчно деликатен, че brim да го издърпа или счупи.
Използване на различни материали
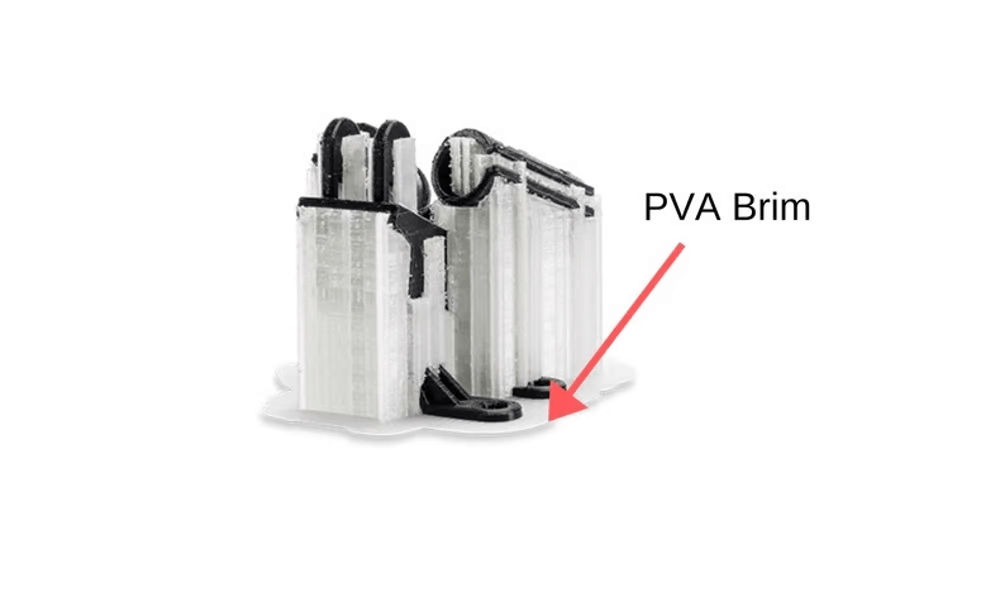
Ако имате принтер с две принтиращи глави/ ядра, можете също да опитате да отпечатате периферии с PVA , който е разтворима нишка. Периферията ще се отстрани лесно. Въпреки това, тъй като е разтворим във вода, може да искате първо да обмислите въздействието върху околната среда.
0 Comments