Getting started with 3D printing doesn't have to be intimidating. Check out our quick guide to 3D printing for beginners!
What does one mean when someone mentions "3D printing"? The media, especially mass marketing, portrays 3D printing as a magical technology of the future capable of reproducing complex objects. But this makes it difficult to define exactly what 3D printing is, technically speaking. In reality, there are many different technologies for 3D printing, but fused deposition modeling ( FDM ), which this article focuses on, is the most common.
FDM works using thermoplastic filament, which is basically plastic that can be melted, selectively deposited, and cooled. This is repeated, layer by layer, until a whole pattern is formed.
This technology was created by people who want to quickly prototype parts. Even today, rapid prototyping is one of the biggest advantages of FDM and 3D printing in general. Not surprisingly, 3D printing has also become a powerful manufacturing solution.
Before we get into the details of how FDM works, there's one more thing worth mentioning. In case you've already done some research on 3D printing, you may have noticed that some sources use the term "FFF," which stands for "fused filament manufacturing," instead of "FDM." This is because the term FDM was originally trademarked by Stratasys and the other abbreviation is a more general term. Remember, this is the same technology, only the names are different. Today, most people (including us!) use "FDM".
Now, let's really get started!
How it works

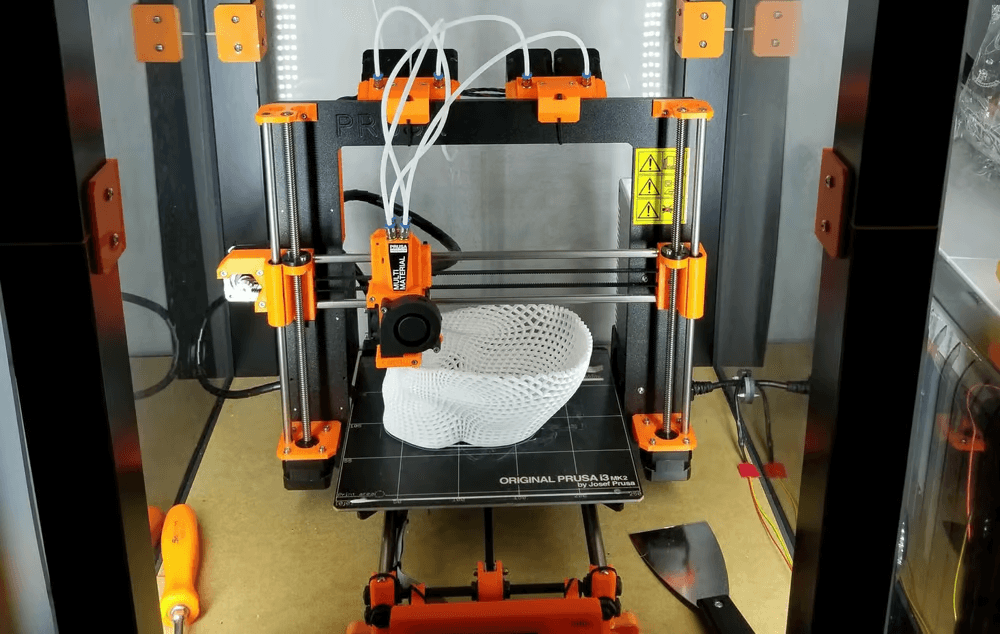
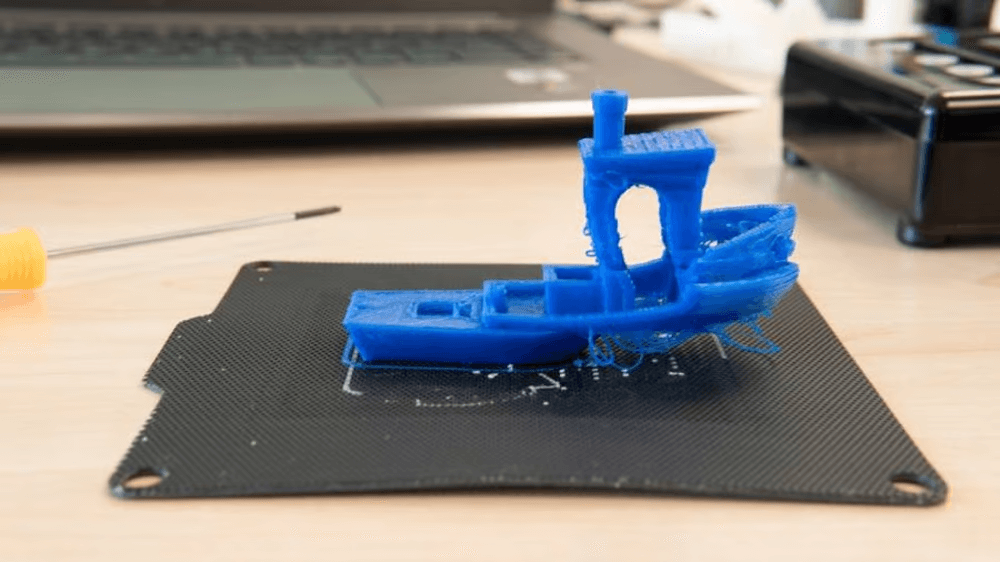
Photo: All3DP
The easiest way to understand how FDM works is to first learn the parts of the FDM 3D printer. Before we talk about specific parts, however, it's worth mentioning that most 3D printers use three axes: X, Y and Z. The wasps X and Y are responsible for left, right, forward and backward movements, while Z -axis controls vertical movement.
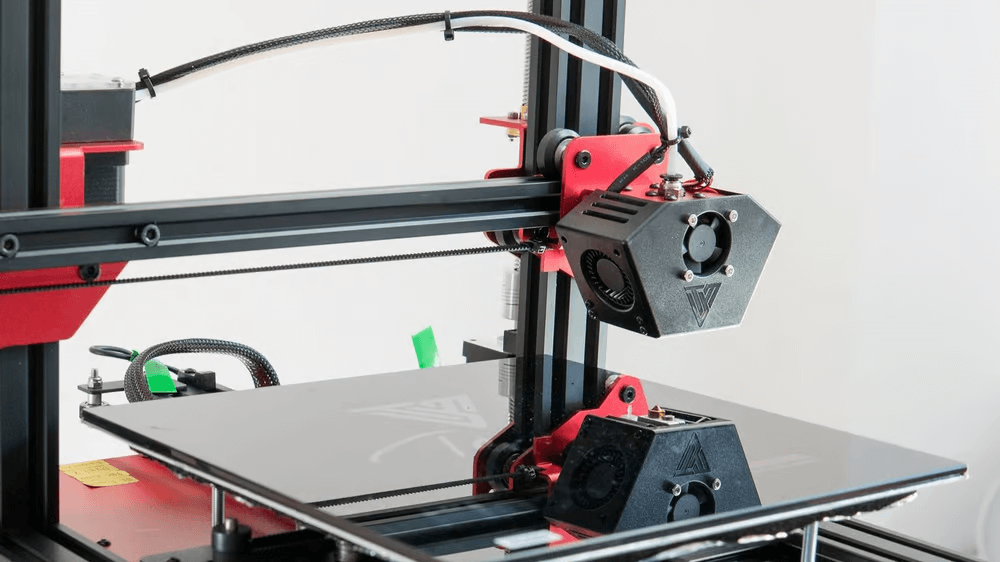
Now let's look at the main components of a 3D printer:
- Build Platform: The build platform (also called the print bed) is essentially the surface on which the parts are made. Build platforms usually include heated beds to make it easier to adhere parts to them, but more on that later.
- Extruder: The extruder is the component responsible for pulling and pushing the filament through the printhead. Depending on the extruder setup (direct or Bowden), the extruder and printhead are sometimes considered the same thing (ie the block that moves along the gantry or gantry). The extruder consists of two sub-components:
- The cold end is the mechanical part that consists of a motor, drive gears, and other small components that push and pull the filament. Regardless of naming conventions, an extruder always consists of at least the cold end.
- The hot end contains a heater and a nozzle, where the former heats the filament so that it can be extruded by the latter. In the case of a Bowden setup, the hot end is never considered part of the extruder.
- Print Heads: There can be one or more print heads on a single printer, although most printers have only one.
- On the print head, between the hot and cold ends, there is a heatsink and a fan, which are required to maintain the cold end to prevent jamming.
- In addition to the heatsink fan, there is usually at least one other fan to cool the molten filament after it exits the hot end. This is commonly referred to as a parts cooling fan.
- Control interface: Some modern 3D printers have a touch screen that is used to control the 3D printer. Older printers may have a simple LCD display with physical scrolling and a click wheel instead of a touch interface. Depending on the model, there may also be an SD card slot and a USB port.
How a 3D printer prints
The process begins when you send a 3D model file to the printer. The file contains a set of instructions for everything, including what temperatures to keep the nozzle and build platform at, as well as how to move the nozzle and how much filament to extrude.
When the print job starts, the nozzle heats up. When the nozzle reaches the temperature required to melt the filament, the extruder pushes the filament into the hot end. At this point, the printer is ready to start 3D printing the part. The print head descends and begins to deposit molten filament by "squeezing" the first layer between the nozzle and the build surface. The material cools and begins to solidify shortly after exiting the nozzle, thanks to the cooling fan (or fans). Once the layer is complete, the print head moves up the axis Z with a small amount and the process is repeated until the part is complete.
Acquisition and design of 3D models
Naturally, if you want to 3D print a part, you need to have a 3D model of that part. 3D models are created using 3D modeling software, such as CAD (computer-aided design) software. Here are some examples of popular 3D modeling programs:
- Fusion 360 (free for CAD for non-commercial use)
- SolidWorks (Paid CAD)
- Blender
However, most 3D printing beginners do not have the skills needed to use such software. If this is the case, don't worry because there are other solutions.
For starters, there are simpler CAD software options, such as Tinkercad, a program that almost anyone can use without any prior experience. It is an online application designed by Autodesk, one of the leading CAD software creators in the industry.
Download files
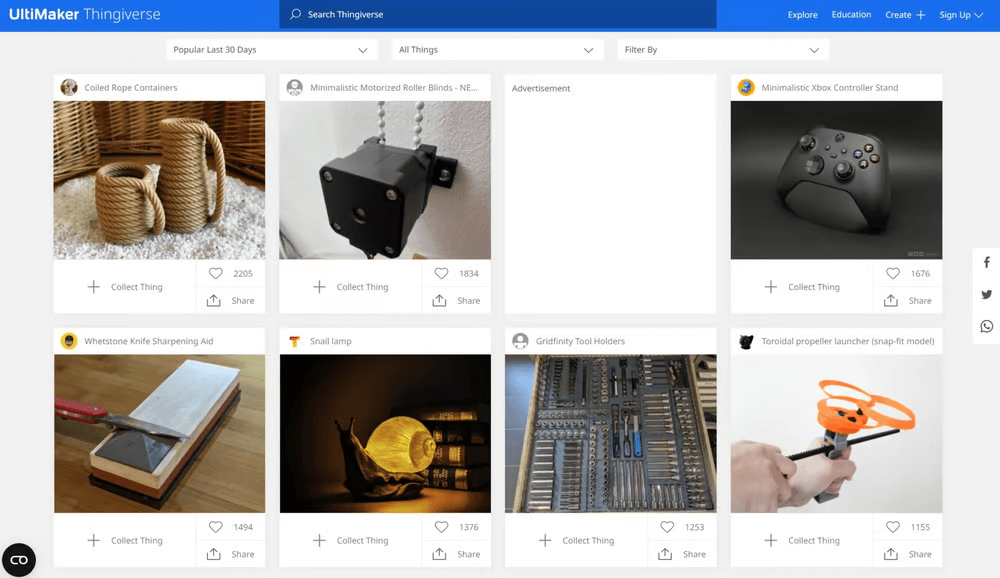
With so many people gaining access to 3D printers in recent years, numerous sites have sprung up as repositories for 3D models. Here are some of the most popular:
- Thingiverse (all free)
- Cults (Free and Paid)
- Printables (all free)
- MyMiniFactory (many free and some paid)
- CGTrader (a few free and most paid)
- … and many others.
This way, anyone can get their hands on a model – no modeling skills required!
Preparation of models
After the model is completed in the 3D design software, it still needs to be prepared using a special kind of software that translates the model into the machine instruction script we mentioned earlier. This is done using slicing software, also called a slicer. After importing your 3D model into the slicer, you can adjust the settings to suit your requirements. You can use the slicer to set many important parameters such as speed and printing temperature, wall thickness, fill rate, layer height and many others.
The resulting file consists of G-code, the "language" of 3D printers and CNC machines. G-code is essentially a long list of instructions that the 3D printer will follow to build your model. In other words, 3D printing is impossible without G-code files!
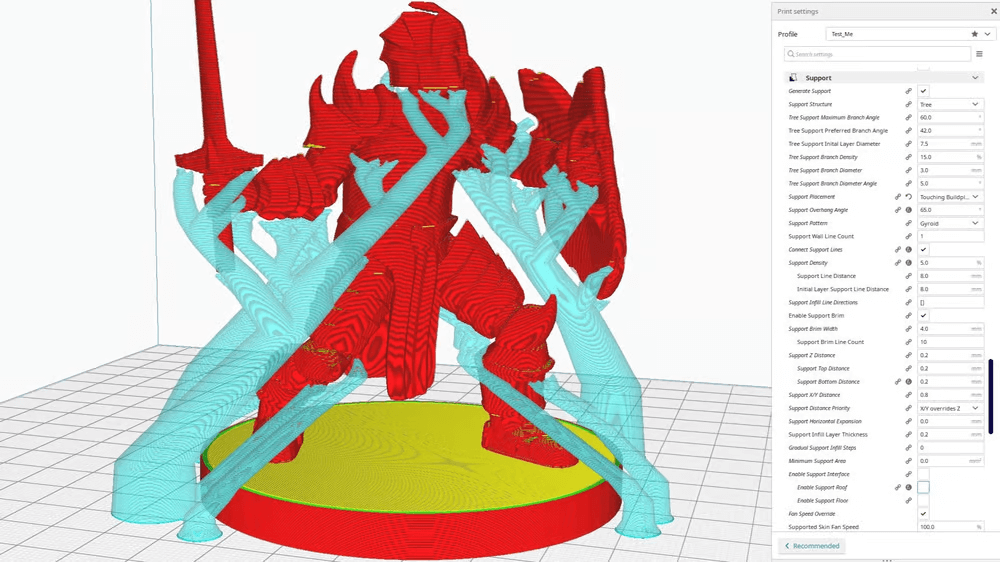
Supports
One of the main functions of the slicer is to analyze your model and determine whether or not to generate support material. In particular, supports are required for parts with severe overhangs. The slicer allows you to choose where to place supports and how thick you want them to be. Some slicers even offer users the ability to select different types of support structures, which may be easier to remove or more stable.
When it comes to slicing software, there are various options to choose from.
Filling
Infill is another setting that has a big impact on your 3D prints. Infill refers to the internal filling in the part and plays an important role in the strength, weight and print time of the part. You can adjust your fill with two settings in your slicer, namely fill pattern and density.
Fill density refers to how full the inside of the print is and is defined as a percentage. A stamp with a 0% fill- is hollow, while a 100% fill means it is fully solid. A fill density of 15-50% is recommended for most standard prints. If you need to make your part stronger, try increasing the fill. Note that higher fill density requires more material and longer printing time.
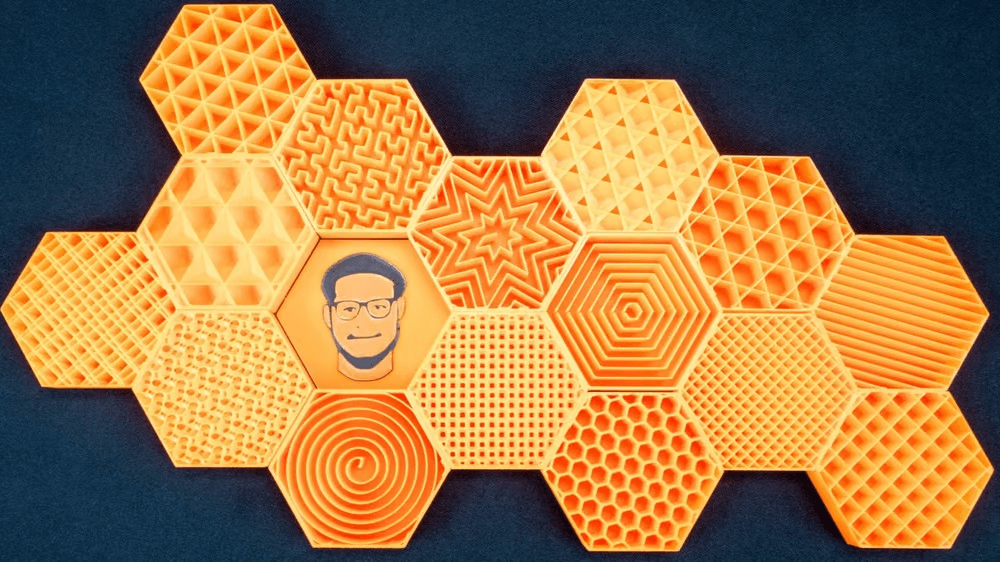
You can also choose a fill pattern for your stamp. For models and figurines figurines, lightning, line, and zig-zag models in Cura are best as they result in faster print times. Standard prints like pots and containers will work best with a grid or triangle. And if you're printing something that requires strength like a shelf bracket - cubic, gyroid or octet patterns are the way to go.
Preparing the printer
After cutting a model, several steps must be taken before the 3D printer is ready to print:
- Thread loading: The extruder must be ready to extrude filament before printing begins. The loading process begins by heating the hot end to the temperature of the molten filament (typically above 175 °C, depending on the filament) and then loading the filament into the heated extruder. Often the printer will have pre-configured operations to help you in the process.
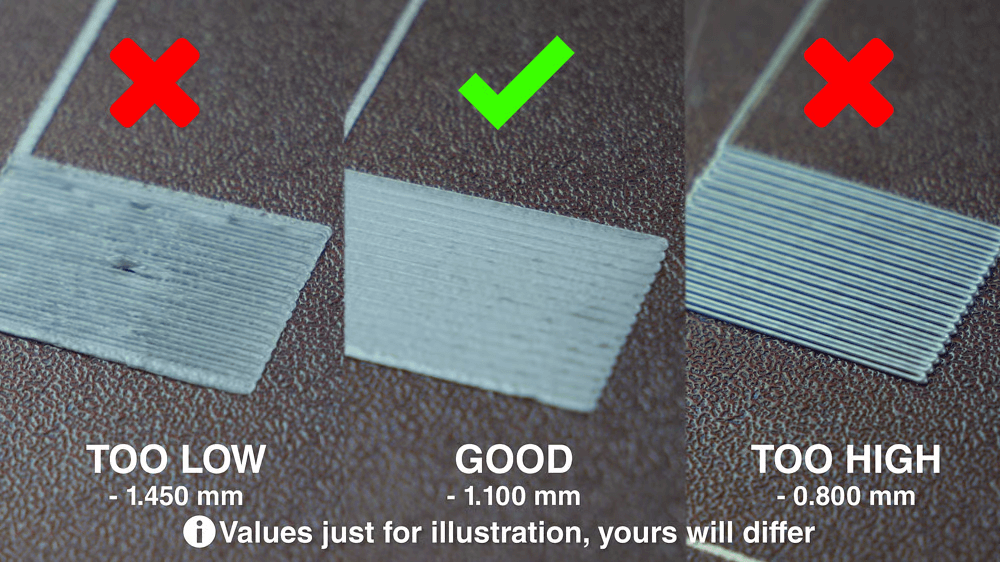
- Leveling the bed: In order for the printer to accurately place the filament and build the object, the build platform must be level. Depending on the machine, leveling can be manual or automatic. Bed alignment is very important because if the print bed is too far from the nozzle, the first and most important layer will not stick to the bed, resulting in automatic print failure.
Materials
As already mentioned, FDM 3D printers use spools of filament as a material to create parts. These filaments are basically specially designed thermoplastic plastics that can be melted and cooled and still retain their structural integrity.
3D printing filaments are generally available in two different diameters: 1.75mm and 2.85mm (or 3mm). In addition to diameter, threads are also available in different spool sizes. A cursory look at the market reveals that the most common sizes are 500g, 750g, 1kg, 2kg and 3kg.
One of the best features of FDM 3D printers is that they can work with different types of filament. Here are just a few of the different types of filament used in FDM 3D printing:
- You will most commonly find PLA, ABS, and PETG. They are usually cheaper and relatively easy to operate.
- Some special types of filaments would be flexible (TPU, TPE), nylon, filled (with wood, metal, etc.) and polycarbonate (PC).
- If your printer can extrude multiple materials, you can use PVA or HIPS to provide soluble supports.
FDM filaments are also among the cheapest materials used in the 3D printing world.
Subsequent processing
Post-processing is the final step of the 3D printing process (although we recommend recycling). Depending on your requirements, you may need to perform some of the following general post-processing steps for an FDM 3D printed part:
- Remove supports: After printing, you will most likely want to remove any extraneous backing material. It is not unusual to see marks left on the surface of the part.
- Grinding: Removing stains, such as those left from backing material removal, is where sanding comes in. Light sanding of 3D printed parts can make the surface smoother.
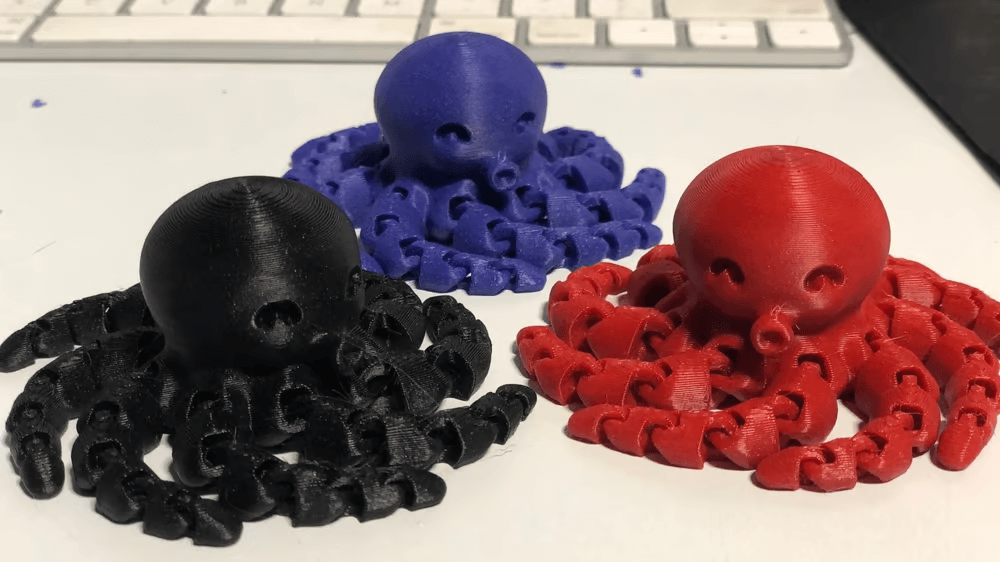
- Painting: You will often print in one color. To add desired colors, details or protection, you can paint your model!
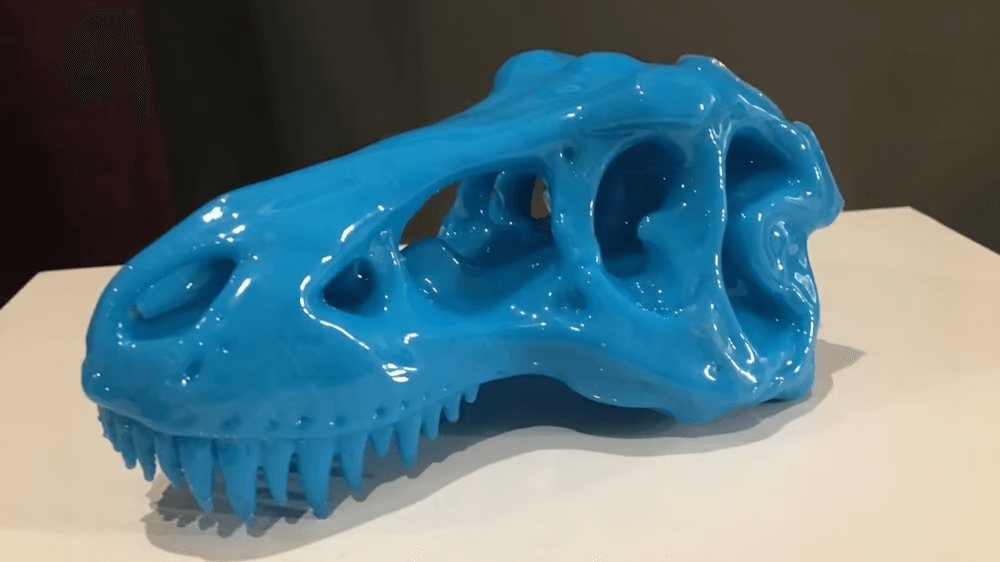
- Polishing or smoothing: Epoxy coating is also one way to smooth the surface of a printed part. Some filaments, such as ABS, work particularly well with specific processes, such as steam ironing, to achieve a smooth, glossy finish.
- Welding or gluing: When you want to print a large 3D model that doesn't fit in the build volume of your printer, you can print the part in two (or more) parts and glue them together later.
Troubleshooting tips
These are some of the most common problems that beginners can face when starting to 3D print.
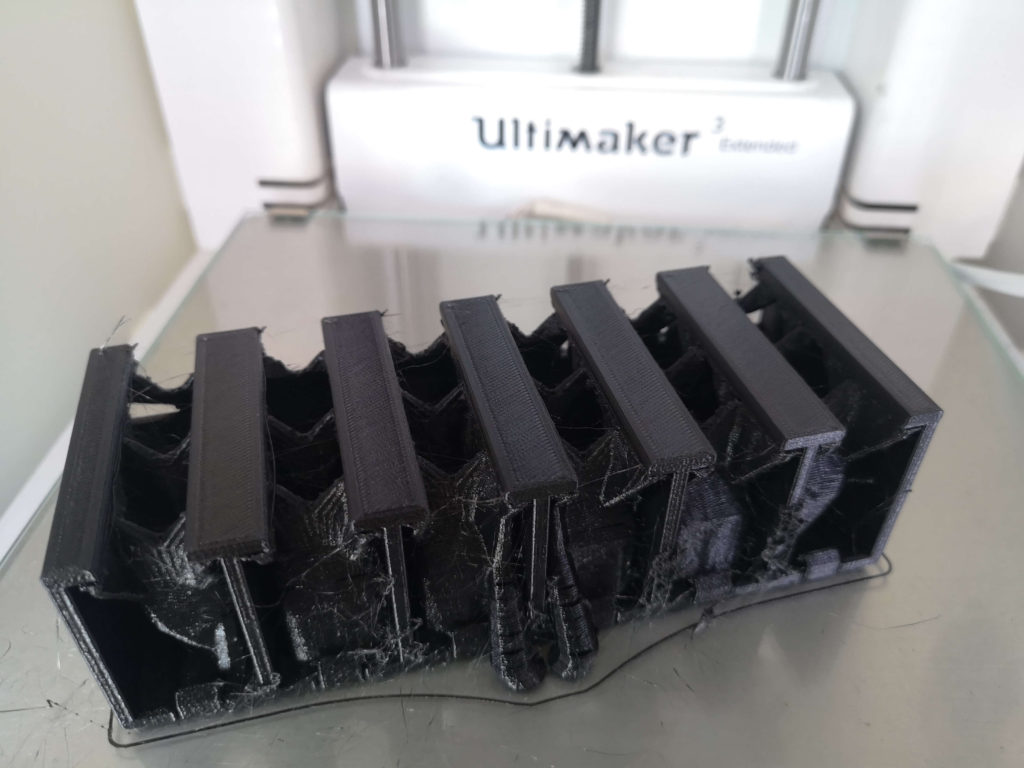
- Warping : This often occurs when the deposited material cools, (slightly) shrinks and pulls the underlying layers apart, causing them to peel away from the build plate.
- Threading: Fine, unwanted thread hairs in your pattern can be caused by improper setup, temperature, or setting settings. putting away . Also, some threads are more susceptible to stringing.
- Nozzle Clogging : A clogged nozzle is one of the most annoying problems with FDM 3D printers. If you hear a strange sound from the print head and notice that the filament is not coming out of the nozzle (or is extruding poorly), you probably have a clogged nozzle. This can be caused by poor filament quality, poor temperature regulation or filament type, among others.
- Layer Shift : This can be caused by slight Z-axis wobble or excessive print speed.
- Underextrusion: Underextrusion occurs when not enough filament is extruded during printing. You'll know you're experiencing this when you see prints with gaps between layers.
- Overextrusion: Overextrusion is the opposite problem: Too much filament is extruded. This leads to sagging layers, bubbles, pimples and poor results in general.
Printer support
3D printers, like any machine, require regular maintenance to keep functioning.
- Cleaning the bed: It is always a good idea to wipe down the print bed after printing. In case there are heavier marks or glue on the print bed, feel free to use a kitchen sponge, soap and warm water to get rid of them. Rulers and spatulas can also be useful. If there are, be sure to follow all instructions from the printer manufacturer.
- Cleaning the nozzles: Before you start printing, lightly clean your nozzles with a brush or cloth. This ensures that there is no stuck solid filament that can cause problems in future prints. However, sometimes you may need to do something a little more serious. But this should not scare you - we at 3MG Bonev will help you even then.
- Collection of "stray" fibers: Most printers "spread" a small amount of fiber to prepare the extruder before starting on the first layer, but this leaves a strand of fiber that is carried into the build zone. Pick them up and throw them away to make sure the platform is always clean.
Storage
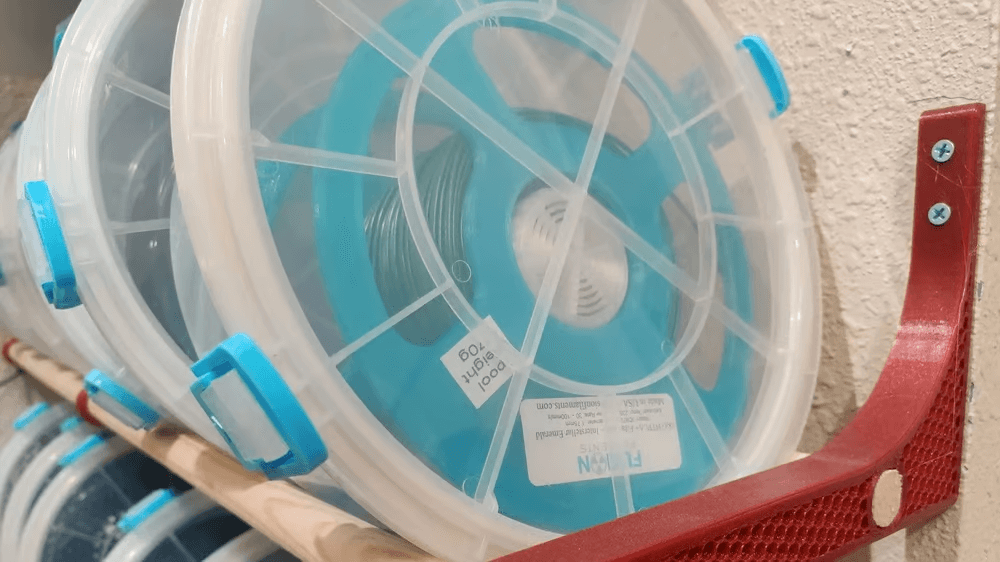
Filament storage is an important aspect of 3D printing, especially if you have multiple spools located outdoors. It's important because if spools are left, say, on a desk for a while, dust and moisture build up and can potentially ruin the properties of the thread.
There are many floss containers on the market, as well as vacuum floss bags. They protect the threads from dust and moisture accumulation.
Sometimes thread dryers are also used. These devices keep your strands healthy by pulling out any absorbed moisture.
0 Comments