Pimples and blemishes in 3D printing are a quality issue that affects appearance and functionality. Read about the causes and how you can prevent them!
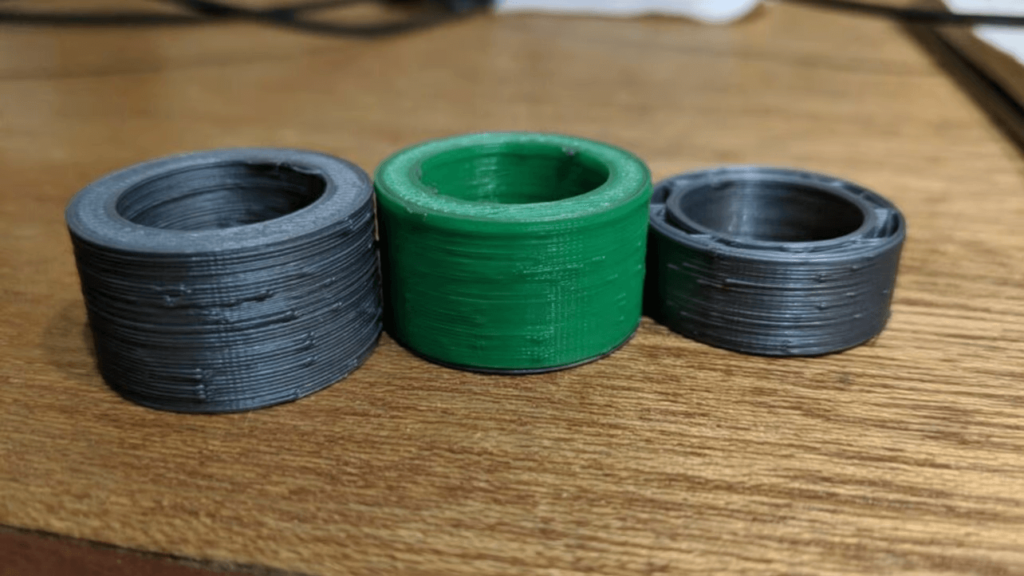
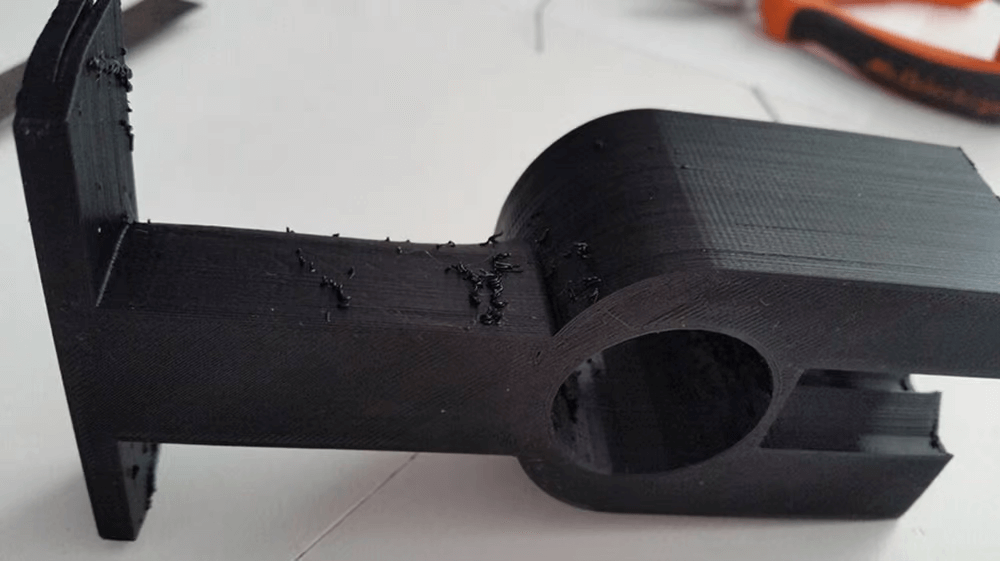
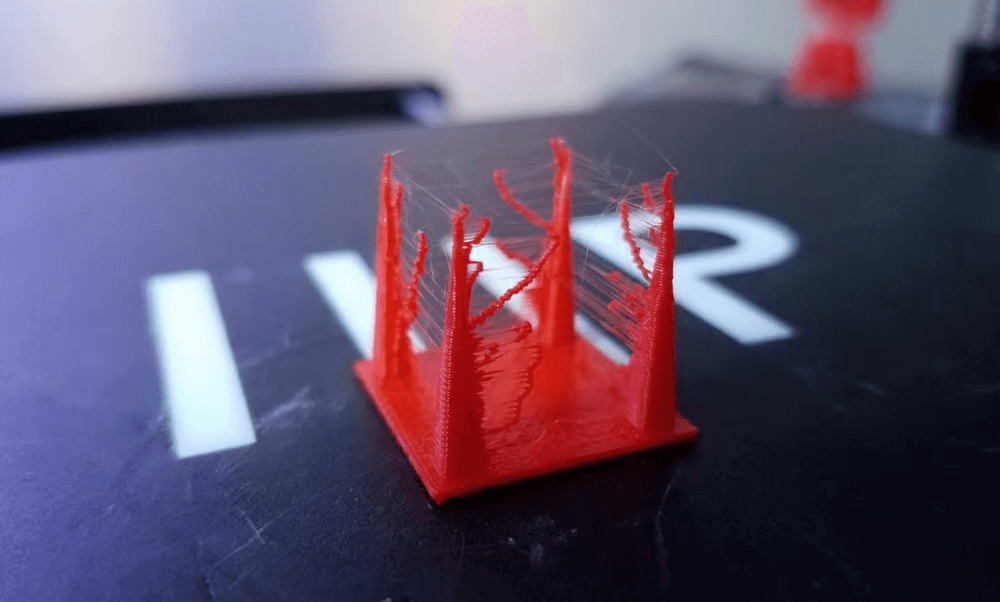
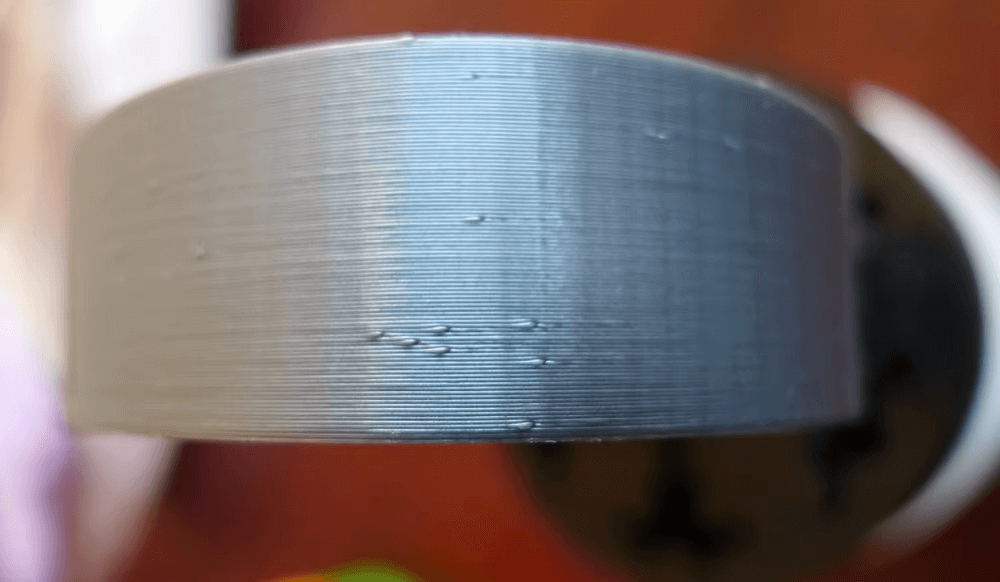
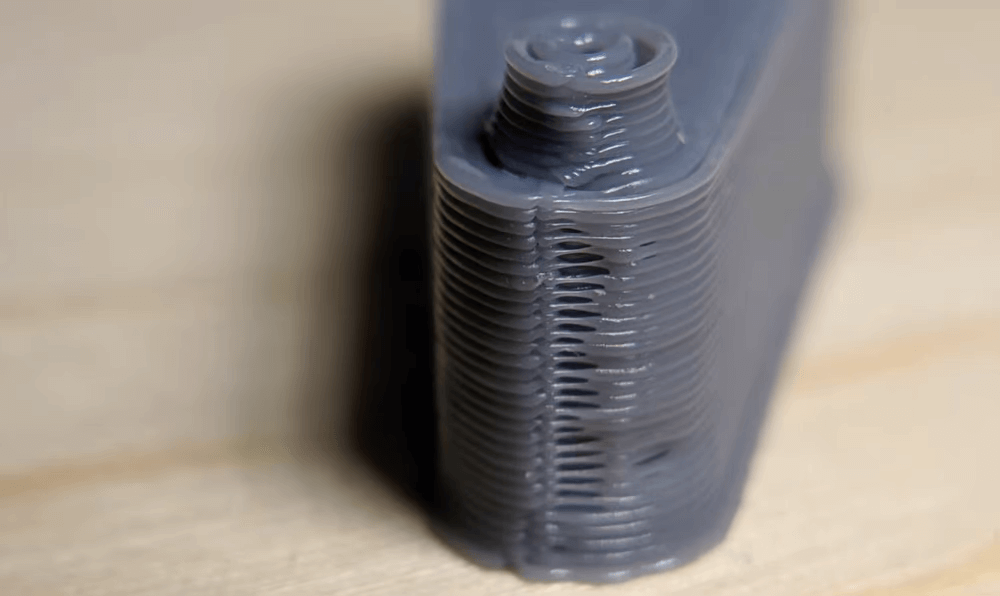
There are many different print quality defects that can compromise the strength, shape, dimensional accuracy and visual appearance of a print. Spotting on 3D printed models is one form of printing problem that appears as unevenly spaced bumps, ridges, or buildup on the outside of the print.
Although this form of printing problem is only visible on the surface of the parts, it is still an important aspect of printing, especially for aesthetically oriented items. Spots are bad for visual models, they can be just as problematic for functional components, especially if they need to fit into each other. They can also negatively affect other elements of the print, such as the accuracy of the rathe measurements .
In this article, we'll go over the causes of pimples and blemishes on 3D prints, and then look at how to deal with them. We'll also share tips on how to prevent them.
A few considerations
Before we go any further, it's important to mention that we'll be working under the assumption that you're using the default 3D slicer profile. These profiles are generally tried and true, and work for most combinations of printers and materials. However, they're also fairly general, and their settings and values don't take into account the unique elements of your printer (such as your extruder configuration), so they usually require some fine-tuning to achieve high-quality prints.
Finally, although this article will cover how to prevent pimples and spots on prints, it may also be useful to know how to remove this type of print defect from already printed patterns. Unfortunately, there aren't many ways to do this, but post-processing is one option, including techniques like sanding and smoothing with acetone.
The reasons
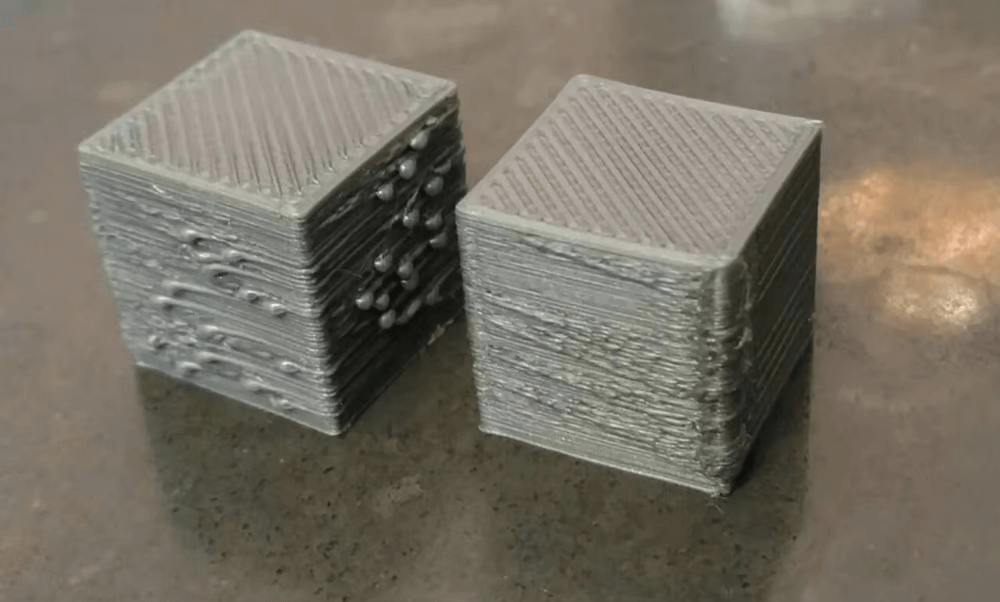
donnysaysvacuum via Reddit )
To prevent any complications with 3D printing, you must first identify the source of the problem and use that to determine how you should solve the problem. There are several potential causes of pimples and blemishes on 3D prints, and we've listed some of the most common ones below.
However, before you go any further, it's important to mention that you need to set up and calibrate your printer so you don't confuse another spot problem. This means leveling the bed, calibrating the extruder (E-steps), making sure the nozzle is screwed in tight, setting the Z offset correctly, and using the correct temperatures for your choice of filament.
Now that that's out of the way, let's get down to the reasons!
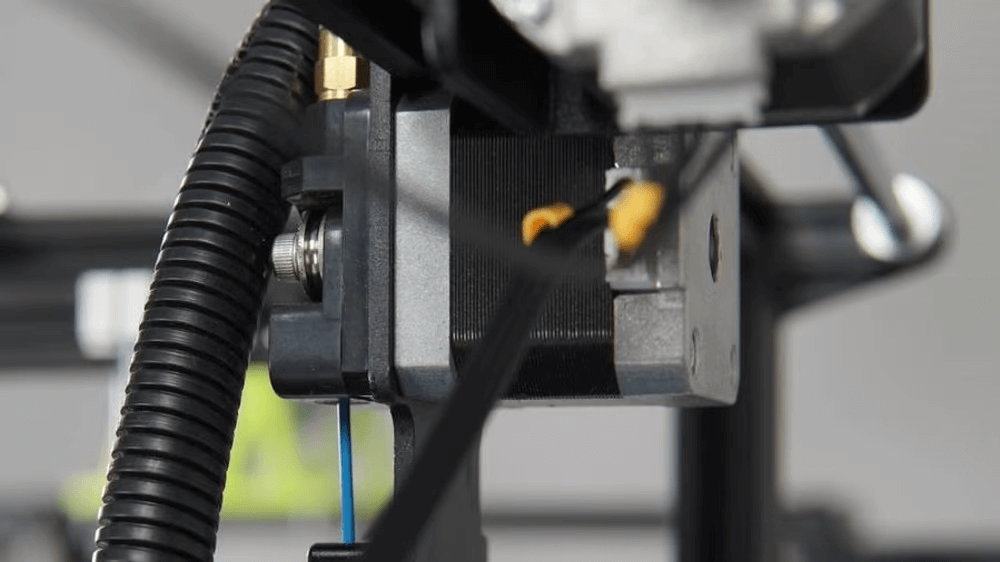
- Retraction: Retraction is the action of the extruder pulling back a small amount of filament to relieve pressure on the hot end. Although this feature can help prevent prints from stringing, too small, large, slow or frequent retraction can lead to stains and pimples.
- Extrusion: Extrusion is a potential source of many print quality problems and describes how the filament is extruded or printed. Spots and pimples are a form of inconsistency or excessive protrusion on the outside of the pattern.
- Temperature of the nozzle: Nozzle temperature is another possible source of pimples and spots that affect the printer's extrusion and how the filament melts. Too high a nozzle temperature can cause excess material to separate from the filament even when the extruder is not pushing the filament.
- Print Speed: The speed of print is how fast the print head moves as it deposits material for the fill, walls and first layer, for example. Constant changes in print speeds and printing speeds that are too fast can lead to quality defects, including spots and pimples.
- Cooling: Cooling is a fundamental part of the FDM 3D printing process, as the deposited filament must be properly cooled before a new layer is added. Too little cooling can cause pimples and spots, as the molten material will be more likely to move and form unwanted features when another layer is added.
Now let's get to some solutions!
Tip #1: Fix incorrect extrusion
As mentioned earlier, extrusion is a potential cause of printing problems. That's why adjusting your printer's extrusion is the first method of dealing with spots and pimples. If your printer is not extruding material consistently and in the correct amounts, printing problems will occur.
To set up your printer's extrusion, we recommend that you properly calibrate your extruder if you haven't done so recently. Next, you might want to check that your flow or extrusion multiplier in your slicer profile is set correctly. Thread is a slicing setting that allows you to control how much filament your printer should extrude.
Another extruding solution is to clean or replace the nozzle in case there is a partial blockage causing inconsistent extrusion. You can also use Linear Advance, a feature in firmware programs like Marlin, to further enhance extrusion. This special feature tells your printer to extrude a filament distance every 1mm/s of print speed, allowing you to anticipate and counteract hot-end pressure that can cause spots and pimples.
Tip #2: Lower temperature and speed
The second solution to pimples and spots is to lower the nozzle temperature and print speed, as both affect your printer's extrusion.
Too high a nozzle temperature can cause overextrusion, and too high a print speed can reduce print quality because there is less time for the material to settle before adding the next layer. For these reasons, we recommend reducing the nozzle temperature by 5-10 °C and the print speed by about 5-10 mm/s.
Tip #3: Adjust the retract
Another way to prevent pimples and blemishes is to adjust the retraction settings of your 3D slicer profile. Retraction tells the extruder to pull the filament away from the hot end to prevent pressure from building up in the hot end from accidentally extruding some material. Withdrawals can affect the appearance of pimples and blemishes by their frequency, distance and speed.
In addition to the following, it may be useful to consider the settings for Z hop : during retraction, the print head moves over the design without the nozzle touching it.
Minimum retraction stroke
Since pull-outs are a possible cause of pimples and imprint spots, the most effective solution is to try to avoid them. You can do this by enabling or increasing your slicer's minimum retraction distance, which is the smallest distance the nozzle can travel before retraction is allowed. This will reduce the frequency of withdrawals and, hopefully, the number of pimples and blemishes.
Retrieval distance
While avoiding creasing is effective, it can also lead to more stringing in your print; don't worry, though, because there are other ways to adjust your tucks to prevent breakouts and blemishes. The second retract setting you can adjust is the retract distance, which controls how much thread is pulled back for each retract event.
If the retraction distance is too short, not enough filament will be sucked back from the hot end and excess material may leave the nozzle, causing pimples and spots. If the retracts are too large, there will be a gap between the end of the filament and the nozzle and air will be forced through the nozzle, causing spots and bubbles on the print. To prevent this from happening, you should first try increasing the retraction distance and then decreasing it if this does not reduce the spots or pimples on the printout.
Retraction speed
The third retraction setting is retraction speed, which controls how quickly the filament is pulled back during retraction and how quickly it is pushed back through the hot end when retraction is complete. If the draw is not fast enough, the material will not be drawn efficiently from the nozzle and leakage may occur, causing spots on the print. To avoid this, you should try to increase the retraction speed by about 25%, with a maximum of about 65 mm/s.
Tip #4: Increase cooldown
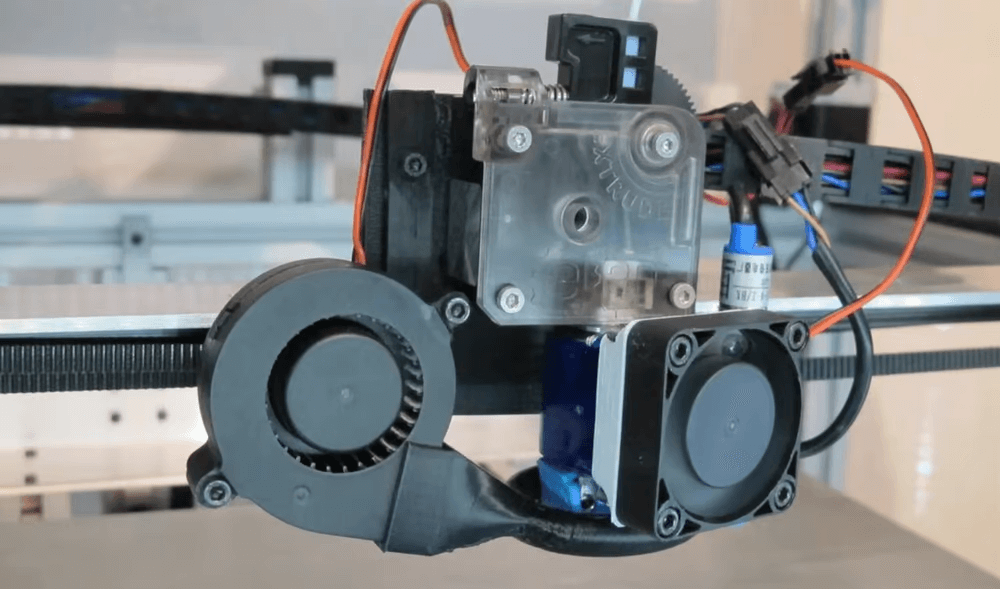
The fourth tip to prevent pimples and stains on 3D prints is to increase the cooling of the printer. Too high a nozzle temperature can cause excessive extrusion (including grains and blobs) because higher temperatures cause the material to remain molten for a longer time.
Besides lowering your nozzle temperature, you can also use more cooling on your machine to achieve the same goal. To do this, you can increase the fan speed in your slicer in increments of 10% until the problem goes away. If your fan is running at maximum speed and still not enough cooling, you can also add another fan or use a more powerful one.
# Tip 5: Use Coasting
Another suggestion is to enable inertial movement in your 3D slicer program. Coasting basically tells your printer to stop extruding material a short distance before the print stroke ends.
Because pressure exists at the hot end that inadvertently pushes the filament out of the die, the material will continue to move through the die even when the extruder stops moving. In other words, momentum motion predicts the pressure at the hot end and uses it to prevent over-extrusion, including pimples and spots on the prints. Most slicing programs such as Ultimaker Girl , have this feature (or similar) and all you have to do is enable it and adjust it accordingly based on its performance.
Tip #6: Adjust Shell settings
Finally, the shell settings in your 3D slicer program refer to the settings and functions that control how the appearance of your model is printed. The shells form the outer surface of the part, so adjusting the shell settings can prevent or hide pimples, blemishes, and similar problems such as Z seam and fill "bleeding."
The following settings can be found in Ultimaker Cura:
- Wall Ordering – Outside To Inside: As the name suggests, this setting prints the outer wall before the inner wall. Since inconsistent extrusions are more likely to appear later in the layer, this feature helps hide any printing mishaps by moving them inside the model.
- Outer Wall Wipe Distance: This slicer setup can hide extraneous visual issues by moving your nozzle a certain distance after it has finished printing the outer wall of the print. It is mainly used to hide the Z seam of a pattern that appears as an alignment of inconsistent push down on the side of the print. On that note, there are a few other slice settings you can use to prevent a Z seam on your print, such as Z seam alignment and position.
- Enable Ironing: This is another function related to the wrapper, designed to smooth out the upper layers of the print and squash any excessive extrusions (like blobs or pimples) on the upper outer parts of the model. This is a more experimental slicing feature and can be found in Ultimaker Cura and PrusaSlicer.
0 Comments